Part 1 – PVRDMA and how to test it in home lab.
One of the members of the VMware User Community (VMTN) inspired me to build a configuration where two VMs use PVRDMA network adapters to communicate. The goal I wanted to achieve was to establish the communication between VMs
without using Host Channel Adapter cards installed in hosts. It’s possible to configure it as stated here, in the VMware vSphere documentation.
For virtual machines on the same ESXi hosts or virtual machines using the TCP-based fallback, the HCA is not required.
To do this task, I prepared one ESXi host (6.7U1) managed by vCSA (6.7U1). One of the requirements for RDMA is a vDS. First, I configured a dedicated vDS for RDMA communication. I simply set a basic vDS configuration (DSwitch-DVUplinks-34) with a default portgroup (DPortGroup) and, then, equipped it with just one uplink.
In vSphere, a virtual machine can use a PVRDMA network adapter to communicate with other virtual machines that have PVRDMA devices. The virtual machines must be connected to the same vSphere Distributed Switch.
Second, I created a VMkernel port (vmk1) dedicated to RDMA traffic in this DPortGroup without assigning an IP address to this port (No IPv4 settings).
Third, I set Advanced System Setting Net.PVRDMAVmknic on ESXi host and gave it a value pointing to VMkernel port (vmk1). Tag a VMkernel Adapter for PVRDMA.
Then, I enabled “pvrdma” firewall rule on host in Edit Security Profile window. Enable the Firewall Rule for PVRDMA.
The next steps are related to configuration of the VMs. First, I created a new virtual machine. Then, I added another Network adapter to it and connected it to DPortGroup on vDS. For the Adapter Type of this Network adapter I chose PVRDMA and Device Protocol RoCE v2. Assign a PVRDMA Adapter to a Virtual Machine.
Then, I installed Fedora 29 on a first VM. I chose it because there are many tools to easily test a communication using RDMA. After the OS installation, another network interface showed up on the VM. I addressed it in a different IP subnet. I used two network interfaces in VMs, the first one to have an access through SSH and the second one to test RDMA communication.
Then I set “Reserve all guest memory (All locked)” in VM’s Edit Settings window.
I had two VMs configured enough – in the infrastructure layer – to communicate using RDMA.
To do it I had to install appropriate tools. I found them on GitHub, here.
To use them, I had to install them first. I did it using the procedure described on the previously mentioned page.
dnf install cmake gcc libnl3-devel libudev-devel pkgconfig valgrind-devel ninja-build python3-devel python3-Cython
Next, I installed the git client using the following command.
yum install git
Then I cloned the git project to a local directory.
mkdir /home/rdma
git clone https://github.com/linux-rdma/rdma-core.git /home/rdma
I built it.
cd /home/rdma
bash build.sh
Afterwards, I cloned a VM to have a communication partner for the first one. After cloning, I reconfigured an appropriate IP address in the cloned VM.
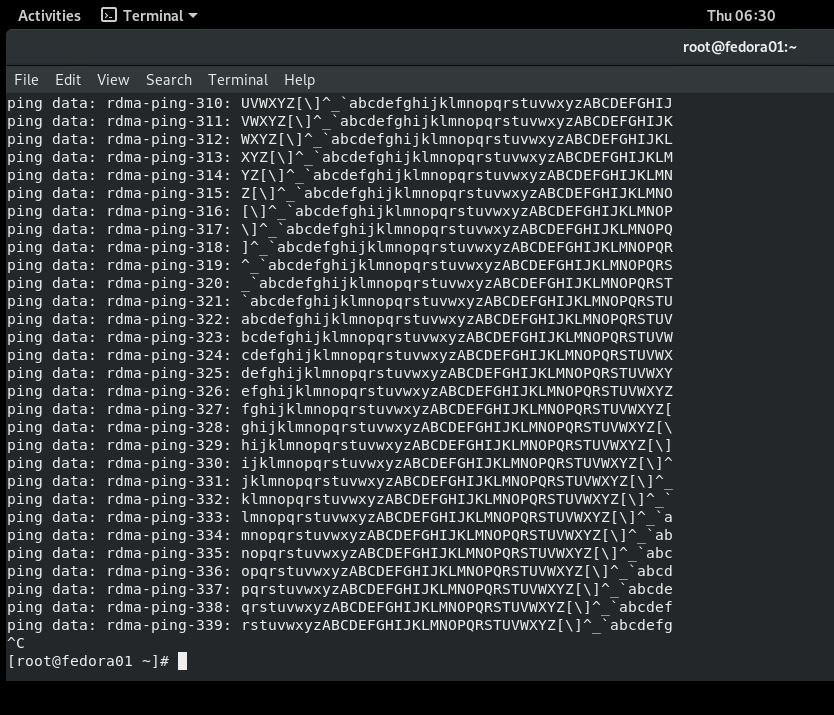
Finally I could test the communication using RDMA.
On the VM that functioned as a server I ran a listener service on the interface mapped to PVRDMA virtual adapter:
cd /home/rdma/build/bin
./rping -s -a 192.168.0.200 -P
I ran this command, which allowed me to connect the client VM to the server VM:
./rping -c -I 192.168.0.100 -a 192.168.0.200 -v
It was working beautifully!
One thought on “Part 1 – PVRDMA and how to test it in home lab.”
While teaming is explicitly not supported with PVRDMA, does that mean that NIC Failover is not supported either?
That would limit the use case severly in any production environment.
Comments are closed.