Quick desktop restoration using VMware Mirage
Backup of physical desktops is one of the primary functions of VMware Mirage. Some people say that true men don’t create a backup 🙂
Althought sometimes it’s a good idea to have some kind of backup. Thanks to VMware Mirage IT Administrators can easily create backup, migrate provision and do a lot of the administrative tasks related to user’s desktops and laptops much faster.
VMware Mirage’s main features are:
- Centralized Virtual Desktops (CVDs)
- Streamlined Windows Image Management
- Application Layering
- Network and Storage Optimizations
- Branch Reflector
- Driver Library
Mirage allows you to restore the entire device from a CVD snapshot in case of hard drive or device failure or replacement need (e.g. stolen laptop, etc.) That’s the case I tested recently and I have to admit that’s pretty straightforward.
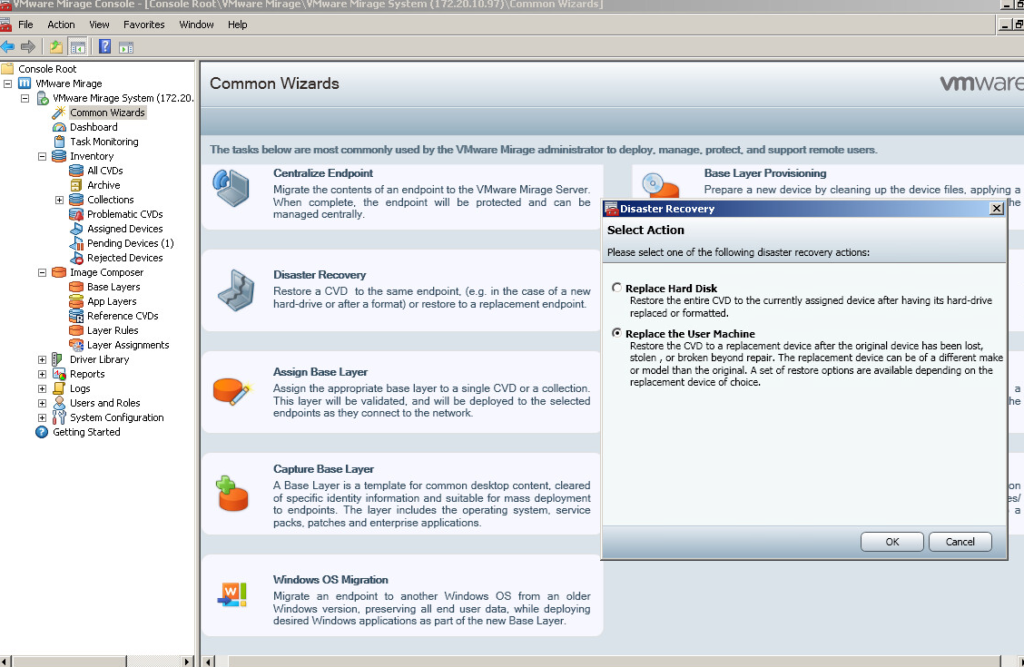
Let’s take a look at this. VMware Mirage provides the embedded wizard called Disaster Recovery which can be used to Replace Hard Disk or complete Machine.
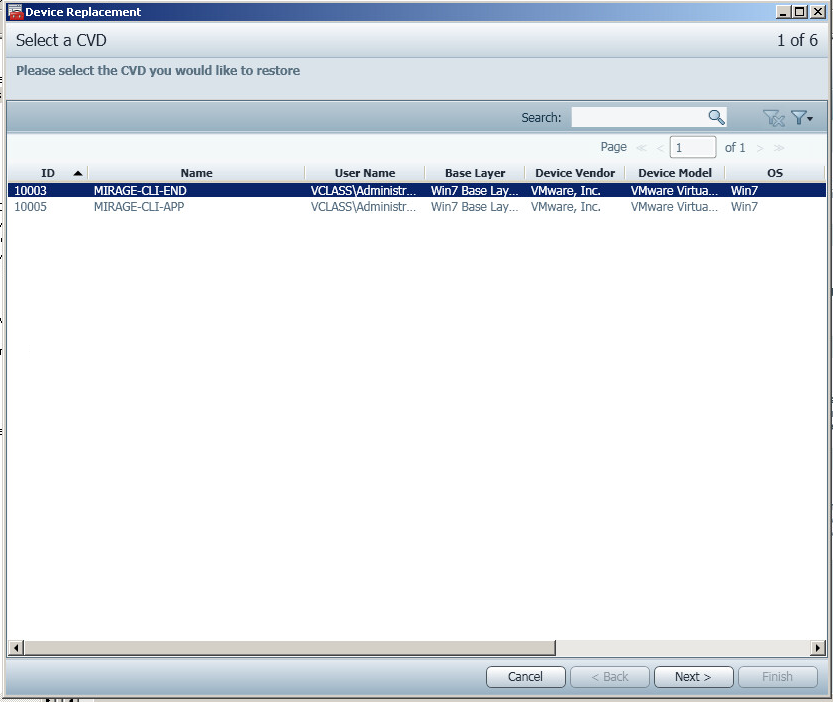
When you choose that option you can select which CVD will be used to restore the machine.
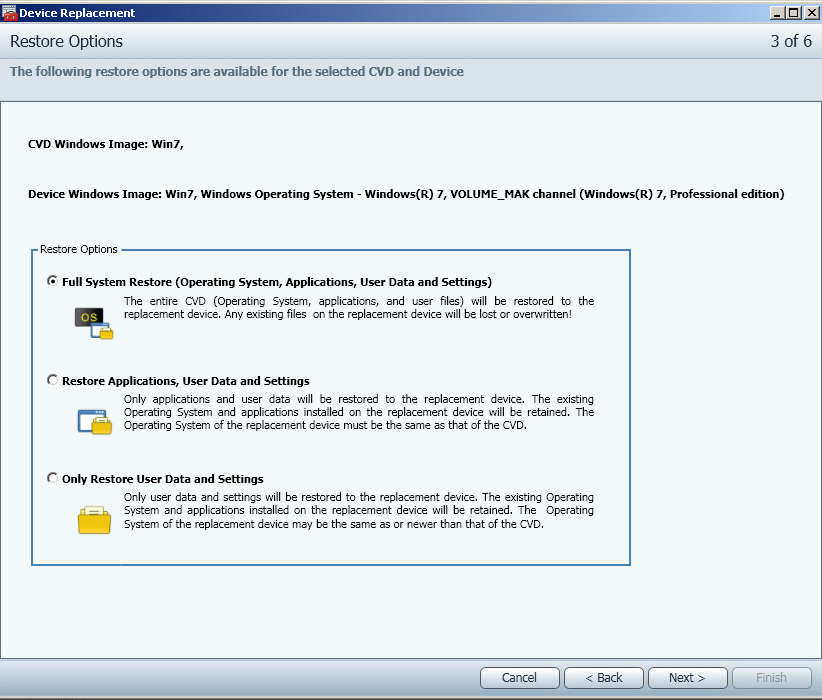
In next step you can pick the right option. There are three options available:
- Full System Restore – includes Operating system, applications and user data and settings. That’s the option which you will use to restore complete machine.
- Restore applications, user data and settings
- Restore User Data and settings
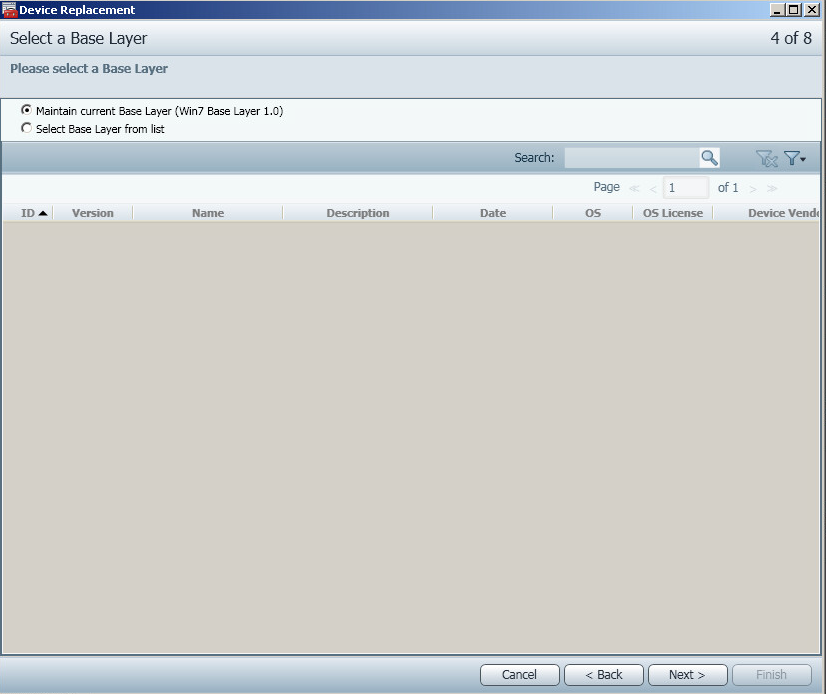
During the restore proces you can also switch the Base Layer from your repository. Currently in my test environment there is lack of Base layers. Anyway my case is to restore the orignal image without any changes.
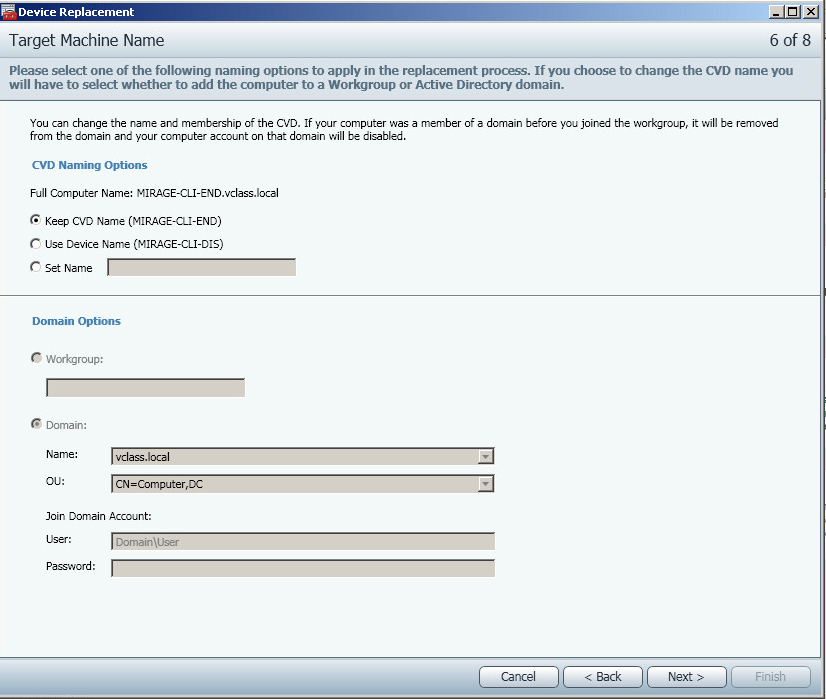
There is also a possibility to change Computer name, Domain membership, etc. but again I want to have my new desktop in exactly the same state as the old one.
After these steps you will see the summary. The lenght of the process largely depends on our network and the size of CVD.
