TKG 2.4 – MANAGEMENT CLUSTER DEPLOYMENT – PART 2
In part 1 of this guide I went through the steps required to prepare a bootstrap machine. This part will guide you through the TKG 2.4 Management Cluster deployment in vSphere environment using previously create bootstrap machine.
TKG Management Cluster deployment configuration can be defined either using GUI or CLI. In both cases the process is initiated using tanzu management-cluster create command either pointing to the –ui flag or -f and the YAML file with config. If this is your’s first deployment I’d suggest to do it using GUI which by the way will generate the YAML for you anyway. That file can be used to either in the future deploy additional clusters directly from CLI or customize the deployment with additional options that are supported but not available in the GUI.
Alright, let’s get started with the deployment!
1. Run tanzu management-cluster create command which will open a graphical wizard in your default web browser.
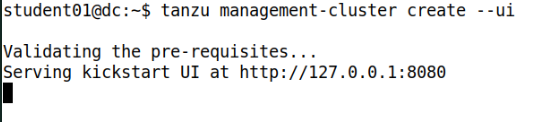
Note: Do NOT stop this service untill the management cluster is deployed. If you need to check something from terminal – make sure you’ve opened a new window 
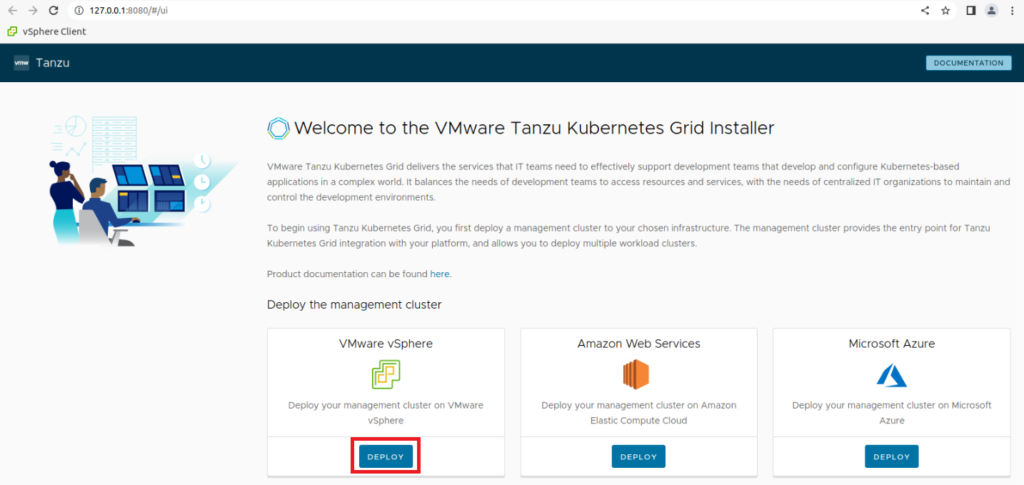
2. Select Deploy under VMware vSphere.
3. Specify vCenter FQDN, service account you want to use for integration and click CONNECT.
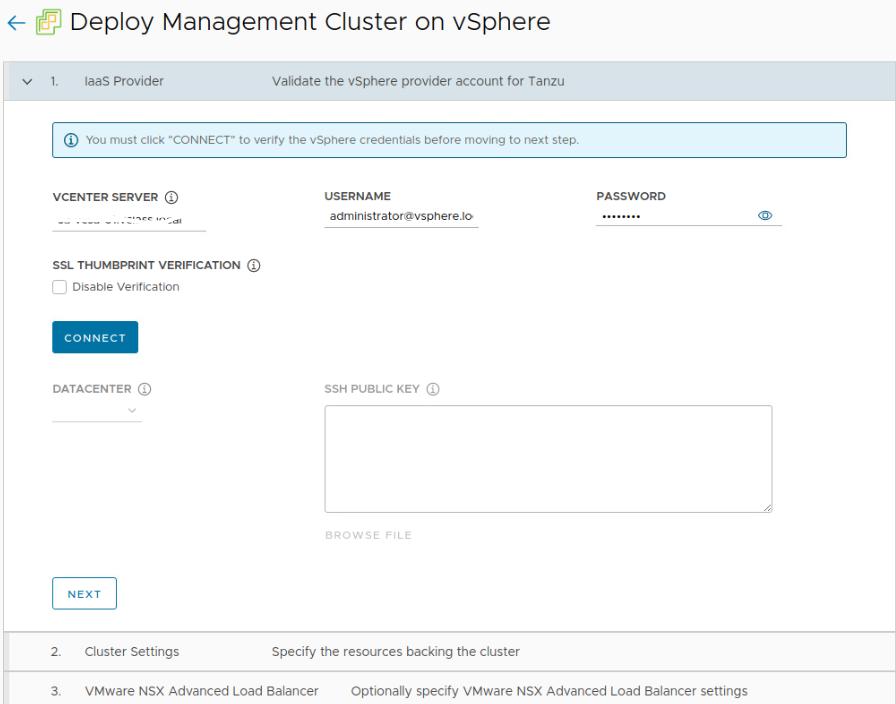
3. In the pop-up window confirm TLS thumbprint.
4. Select Deploy TKG Management Cluster
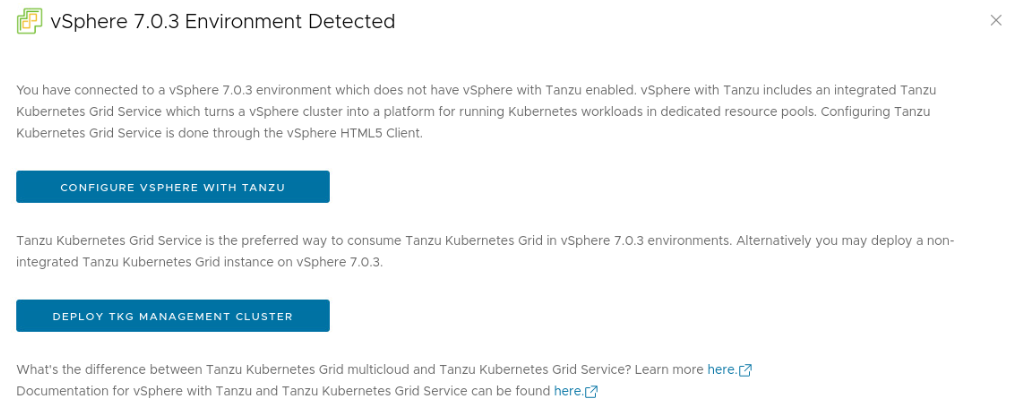
Note: Starting from vSphere 7.0 deployment of TKG Management Cluster and Supervisor cluster can be done in the same way. Therefore as soon as vCenter 7.0 or later is discovered, wizard will ask you whether you want to configure vSphere with Tanzu (with Supervisor Cluster) or deploy TKG with Management Cluster.
5. After the wizard is connected to vCenter – select Datacenter in which you want to deploy Tanzu machines, upload SSH Public Key generated on your bootstrap machine and click Next.
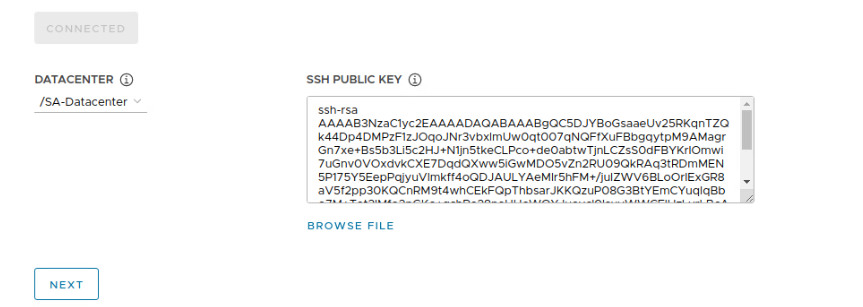
Note: SSH public key will be copied over to all TKG nodes in management and workload clusters. Therefore, you will be able to easily connect to each node from your bootstrap machine where the private key is stored.
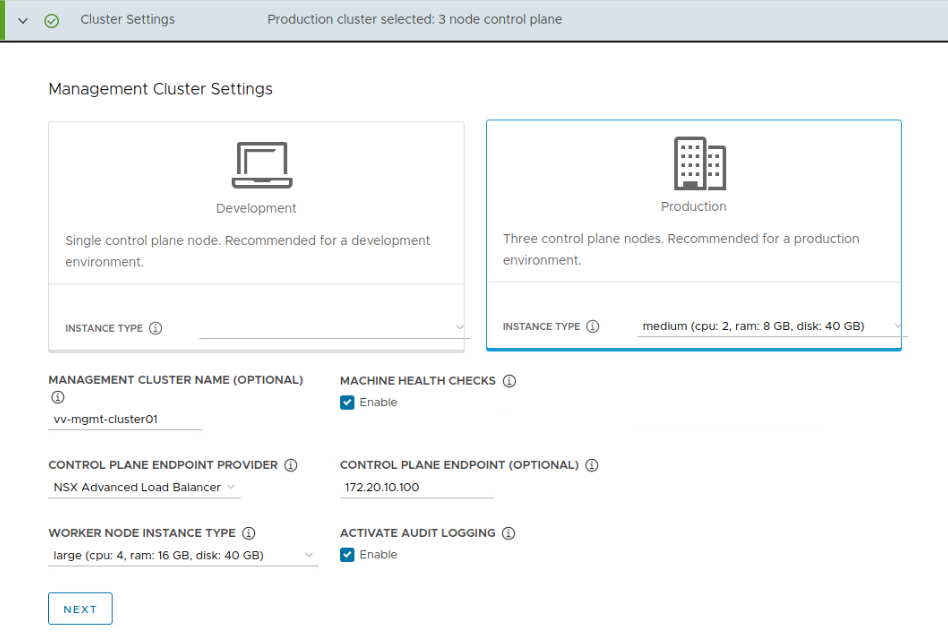
5. On the Cluster Settings page specify:
- Instance Type – Development will deploy a s single control plane which might be appropriate for tests / home lab. Production as the name suggest is production ready and will deploy Three control plane nodes. Additionally, instance type – Small, Medium or Large should be specified based on the number of workload clusters you are going deploy in the future. In my case I’m selecting Production and Medium size which will create control plane nodes with 2 vCPUs, 8GB of memory and 40 GB disk.
- Management cluster name – that’s optional parameter but I’d highly recommend to set it. If you leave it blank a name that will include timestamp in it will be generated.
- Machine Health Checks – as the name suggest it will activate machine health checks, in case of a node failure it will be recreated.
- Control Plane endpoint provider – NSX ALB or kube-vip
- Control plane endpoint – FQDN or IP address that will be used by NSX ALB as cluster control plane endpoint.
- Worker node instance type – same options / sizes are available as for control plane nodes.
- Activate audit logging – enable audit logging for Kubernetes API server and node VMs.
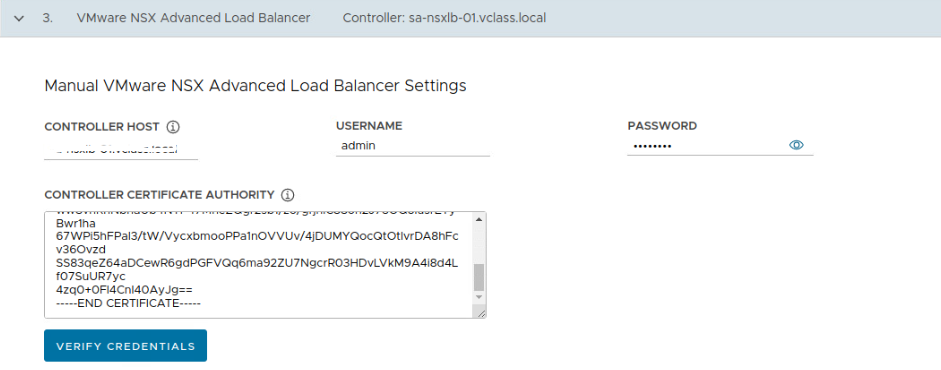
6. On the VMware NSX Advanced Load Balancer page – specify Controller Host (NSX ALB FQDN), username and password as well as Controller Certificate and click Verify Credentials.
Note: Certificate can be found in NSX ALB GUI >Templates > Security > SSL/TLS Certificates tab.
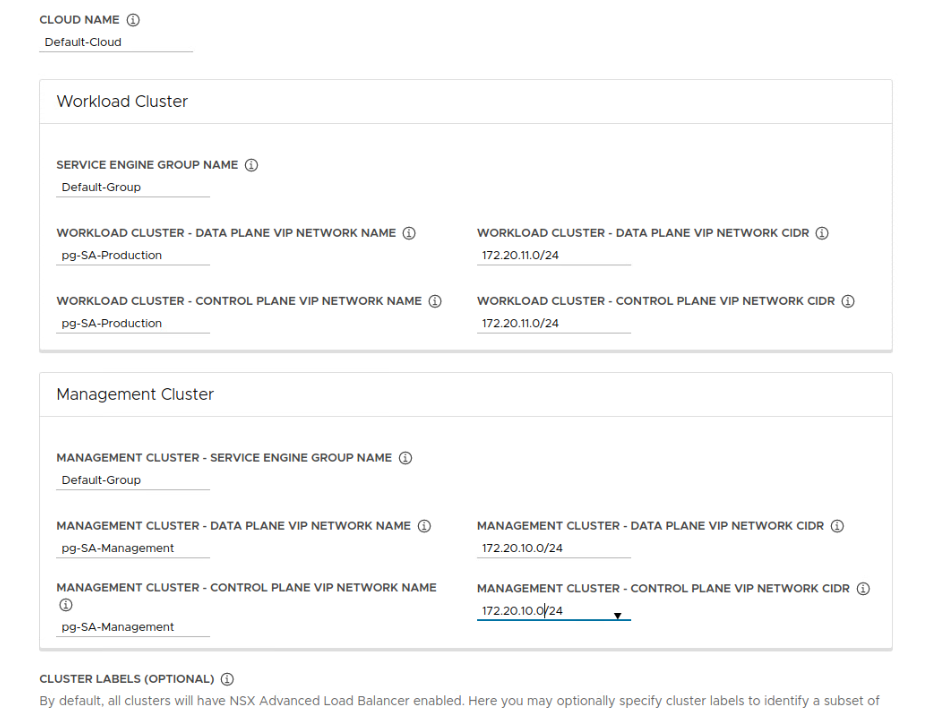
7. Specify NSX ALB details. Bear in mind that currently you can specify separate Data and Control plane VIP networks for both workload cluster and management cluster. Optionally you can specify cluster labels. Once all details are in, click Next.
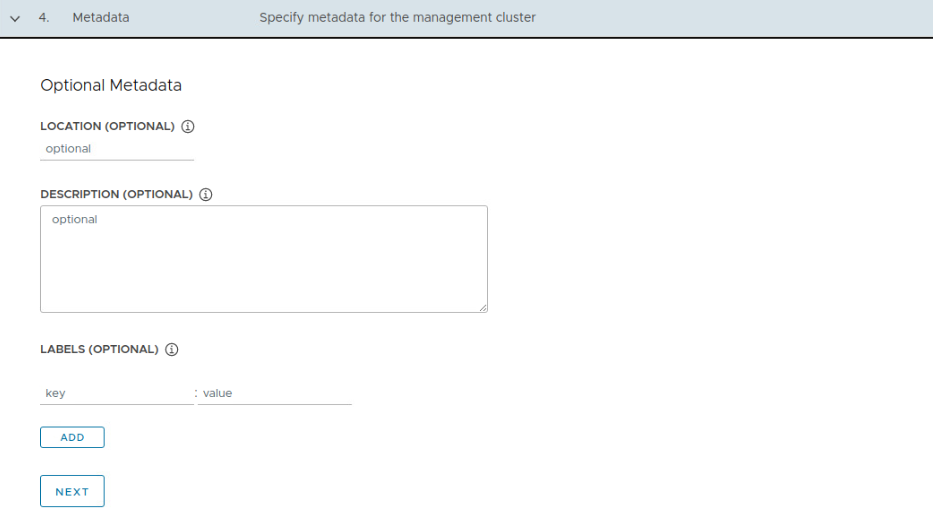
8. On the Metadata page specify optional metadata, description, labels and click Next. As long as it’s optional I’m not going to put anything here.
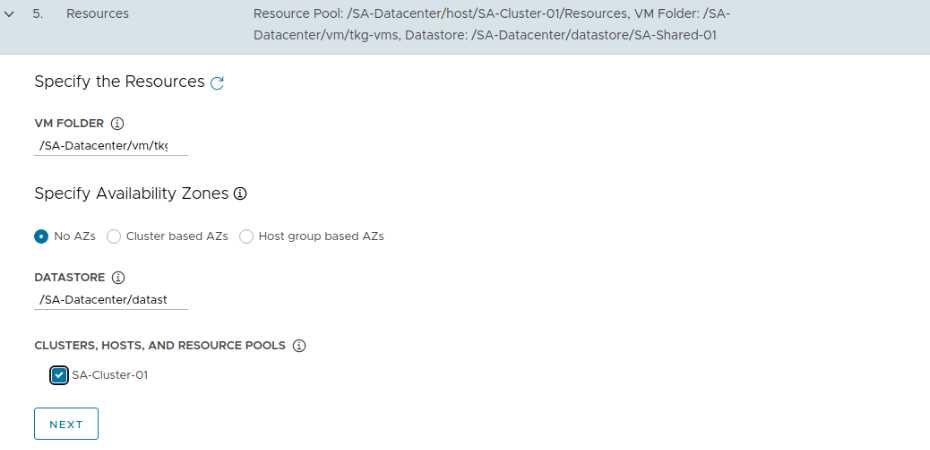
9. On the Resources page indicate:
- VM folder where TKG VMs will be deployed
- Availability zones – either based on clusters (you need at least 3 clusters) or Host groups. I’ve got only one cluster and limited number of hosts, therefore will not use AZs.
- Datastore
- Cluster
10. Specify Kubernetes network settings.
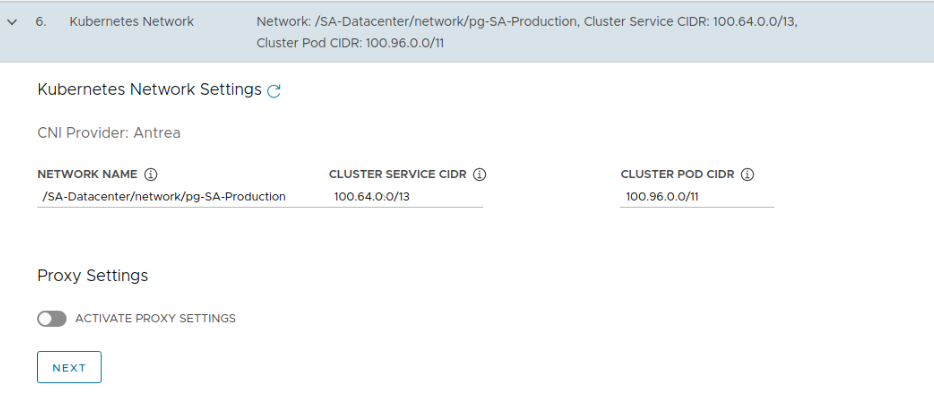
Note: Default CNI Provider is Antrea, and cannot be changed in the GUI.
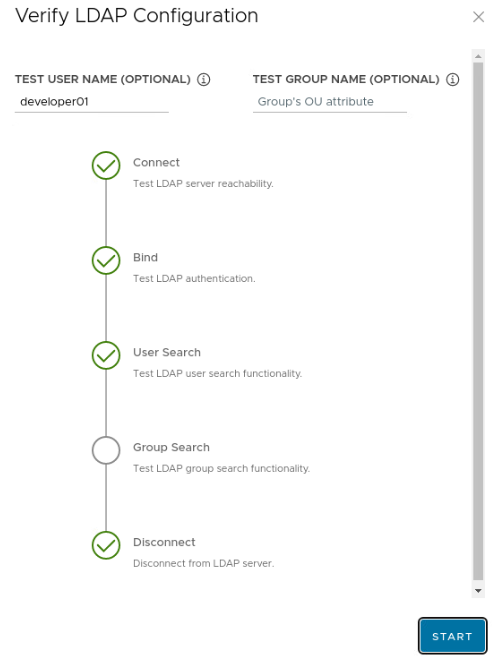
11. Activate and configure Identity Manager based on OIDC or LDAP to enable external authentication to your TKG K8s clusters. In my environment I’m going to use LDAP.
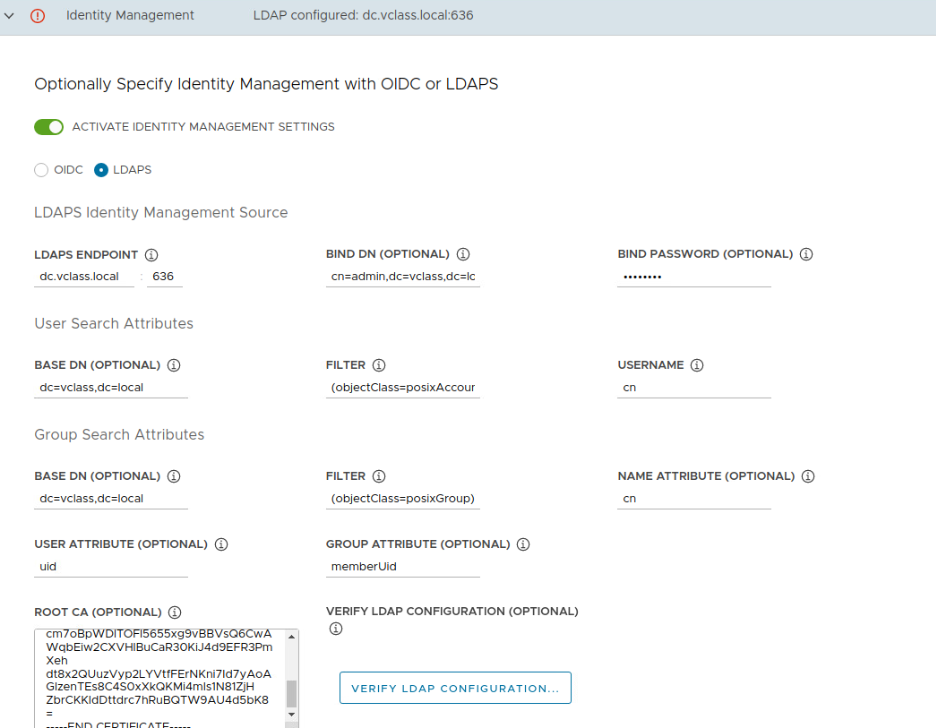
12. If you are using External Identity Manager – make sure you click Verify LDAP configuration before you click Next.
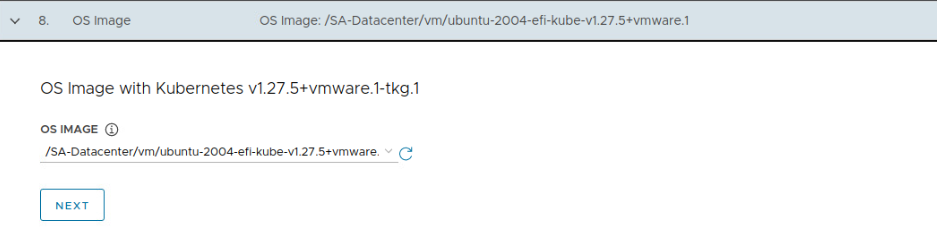
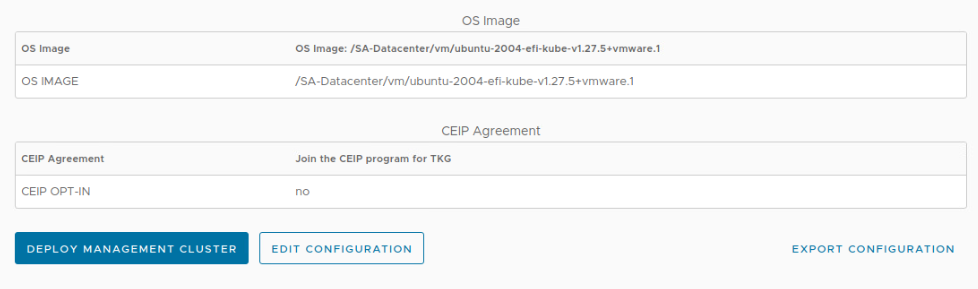
13. Select the OS image you’ve downloaded previously from VMware Customer Connect and uploaded to vCenter Server. If the list is empty make sure you didn’t forgot to convert it to a template.
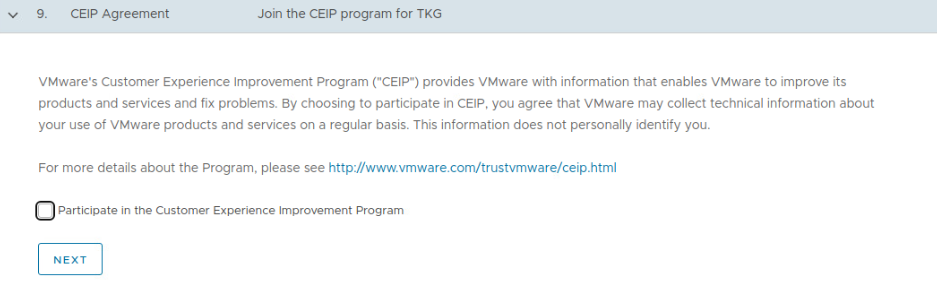
14. On the CEIP Agreement decide whether you want to join the program and click Next.
15. Click Review Configuration
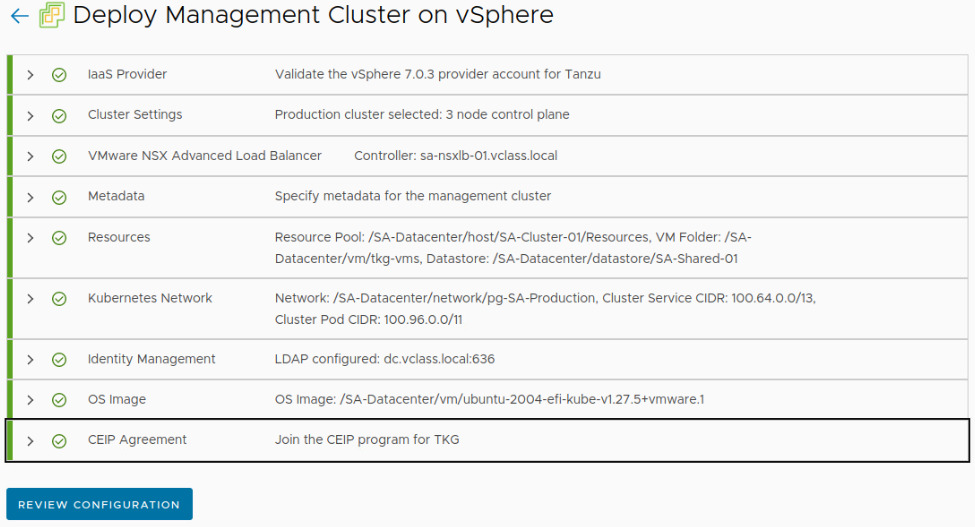
16. Once you verify entier configuration and before you start the deployment I’d recommend to Export configuration first. It will create a YAML file that you can use later for other cluster deployment or to modify / add configuration options not available in the GUI and then deploy it using Tanzu CLI.
Note: Even if you didn’t export the config to a YAML file it will be saved in ~./.config/tanzu/tkg/clusterconfigs directory on your bootstrap machine. Available variables that can be configured can be found here.
17. Once everything is validated click Deploy Management Cluster which will start the deployment.
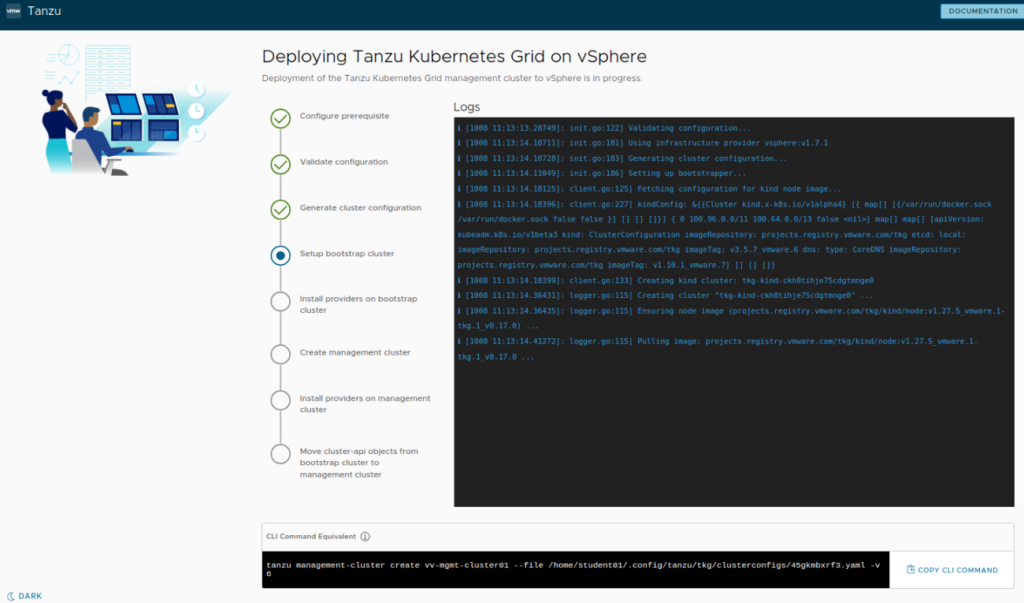
Deployment will take somewhere between 20-40 minutes depending on your environment and the type of deployment you selected – either Dev or Prod.
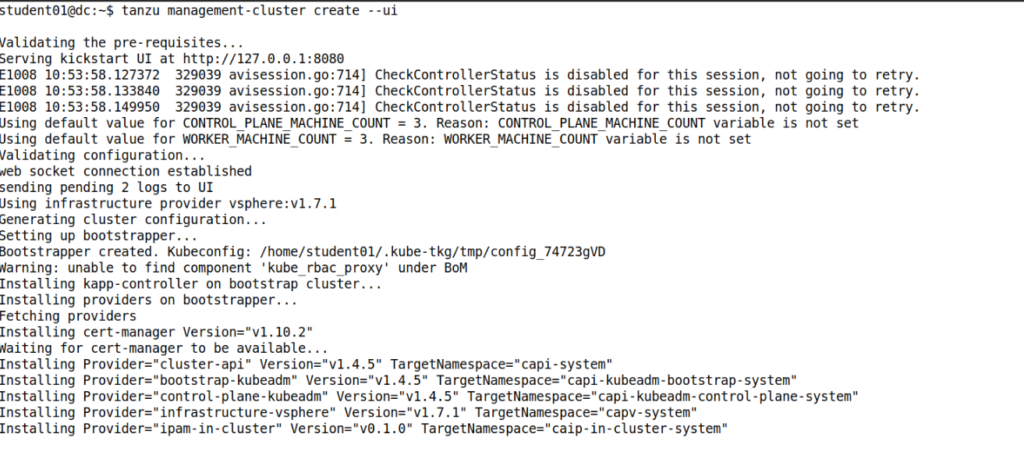
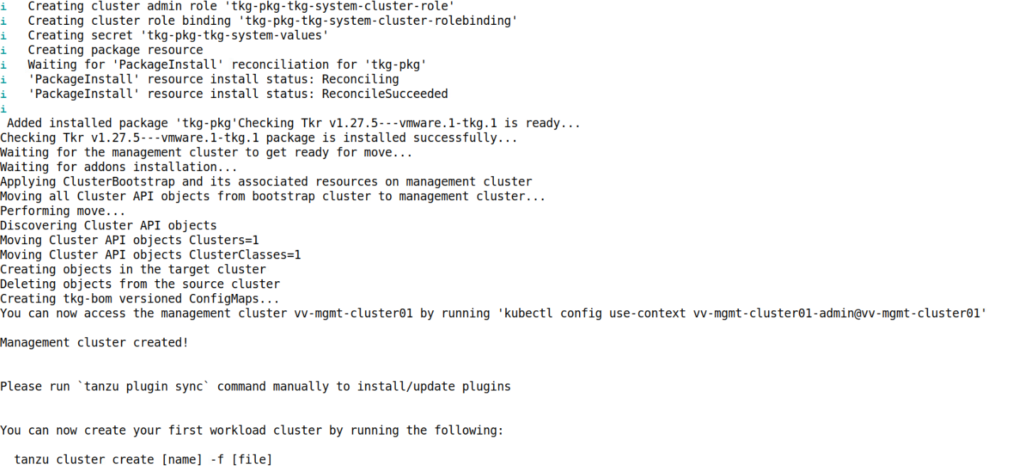
Similar output can be observerd in the still active terminal session:
After successful deployment you should get and Installation complete message in the GUI.
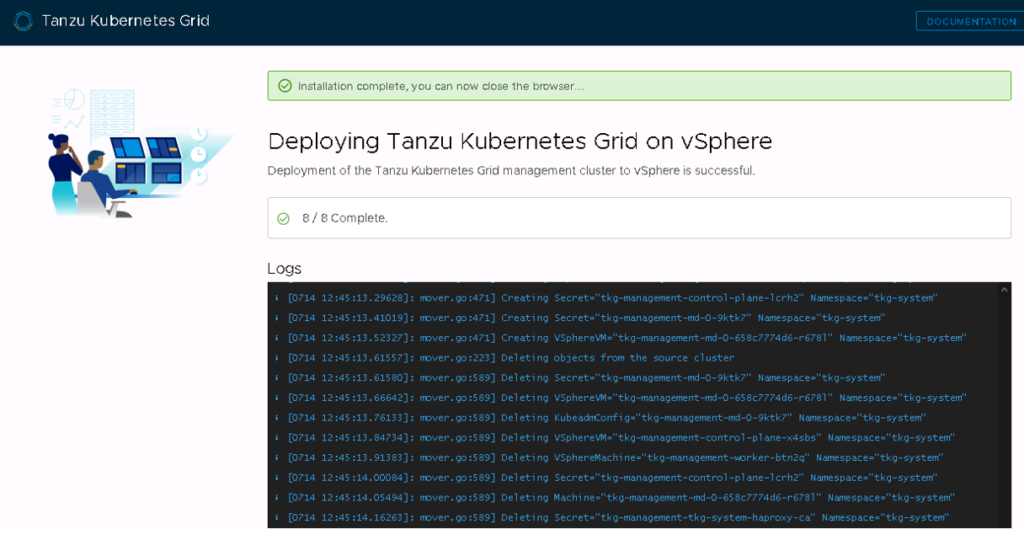
Similarly in the terminal we can see the management cluster was created. Now you can access the management cluster context by using the command specified in the output to interact with it.
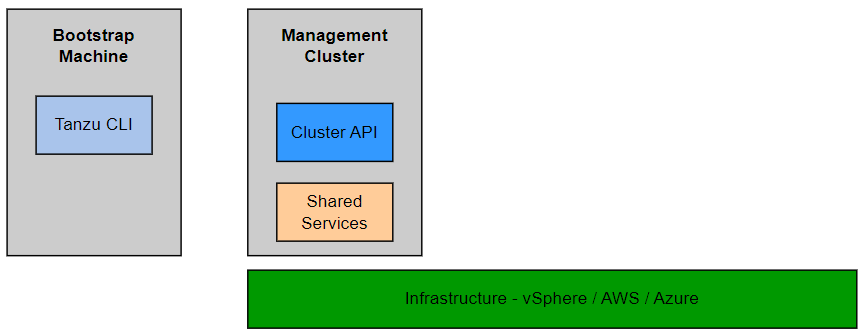
This concludes TKG 2.4 Management cluster deployment with NSX ALB. After that our infrastructure diagram looks as follows:
As a next step you might want to login to Management Cluster, configure authentication, deploy workload clusters, deploy packages, etc. These steps will be described in separate blog posts – so stay tuned!