Infinio Accelerator – how it works?
In my last post about Infinio Accelerator we introduced product and basics about it. Now it is time to go more deep – how this server side cache is working ?
Infinio’s cache inserts server RAM (and optionally, flash devices) transparently into the I/O stream. By dynamically populating server-side media with the hottest data, Infinio’s software reduces storage requirements to a small fraction of the workload size. Infinio is built on VMware’s vSphere APIs for I/O Filtering (VAIO) framework. This enables administrators to use VMware’s Storage Policy Based Management to apply Infinio’s storage acceleration filter to VMs, VMDKs, or groups of VMs transparently.
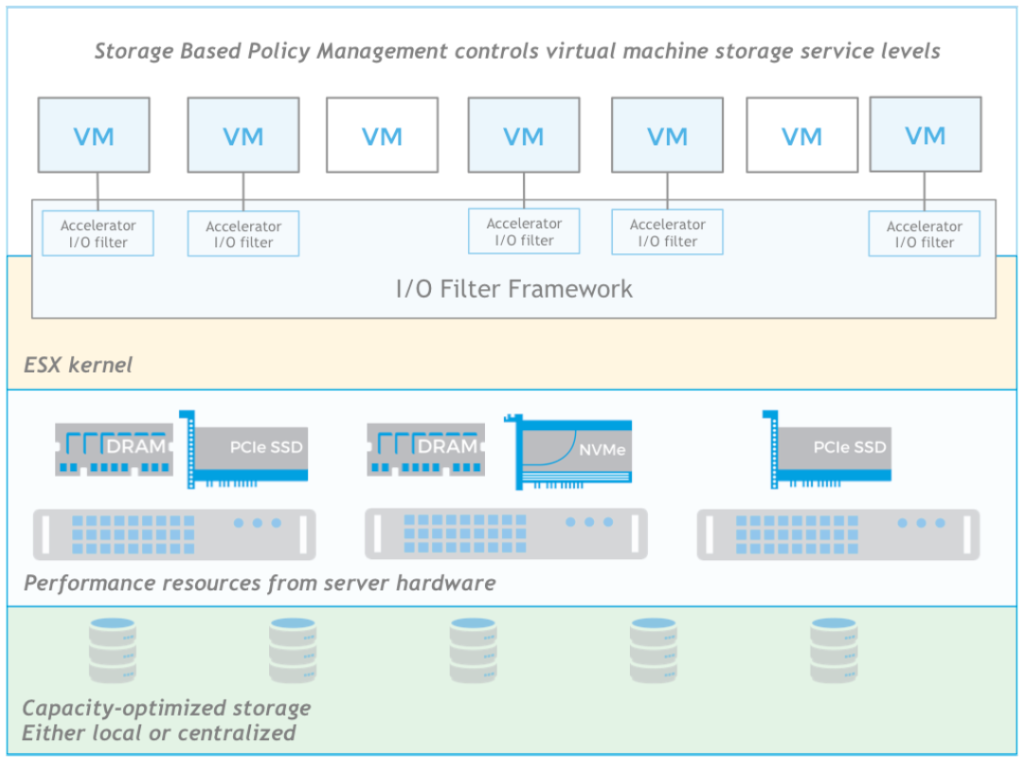
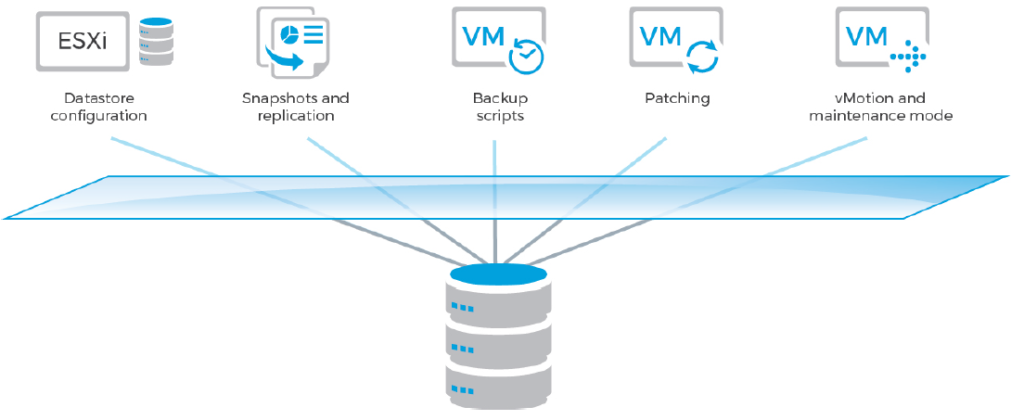
An Infinio cluster seamlessly supports typical cluster-wide VMware operations, such as vMotion, HA, and DRS. Introduction of Infinio doesn’t require any changes to the environment. Datastore configuration, snapshot and replication setup, backup scripts, and integration with VMware features like VAAI and vMotion all remain the same.
Infinio’s core engine is a content-based memory cache that scales out to accommodate expanding workloads and additional nodes. Deduplication enables the memory-first design, which can be complemented with flash devices for large working sets. In tiered configuration such as this, the cache is persistent, enabling fast warming after either planned or unplanned downtime.
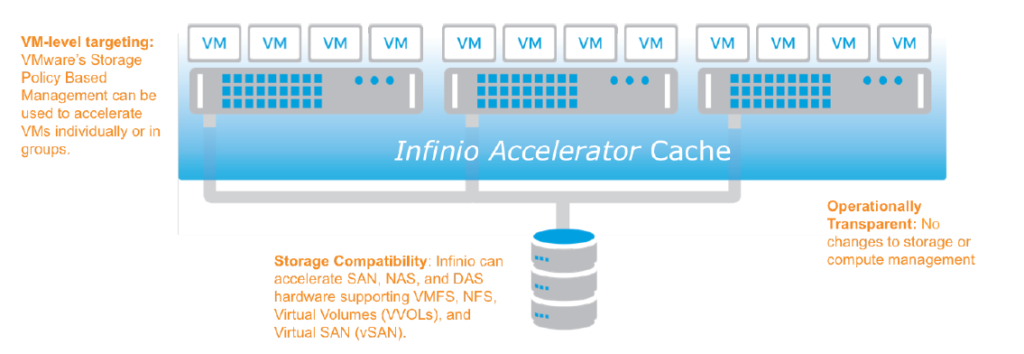
Note. Infinio’s transparent server-side cache doesn’t require any changes to the environment !
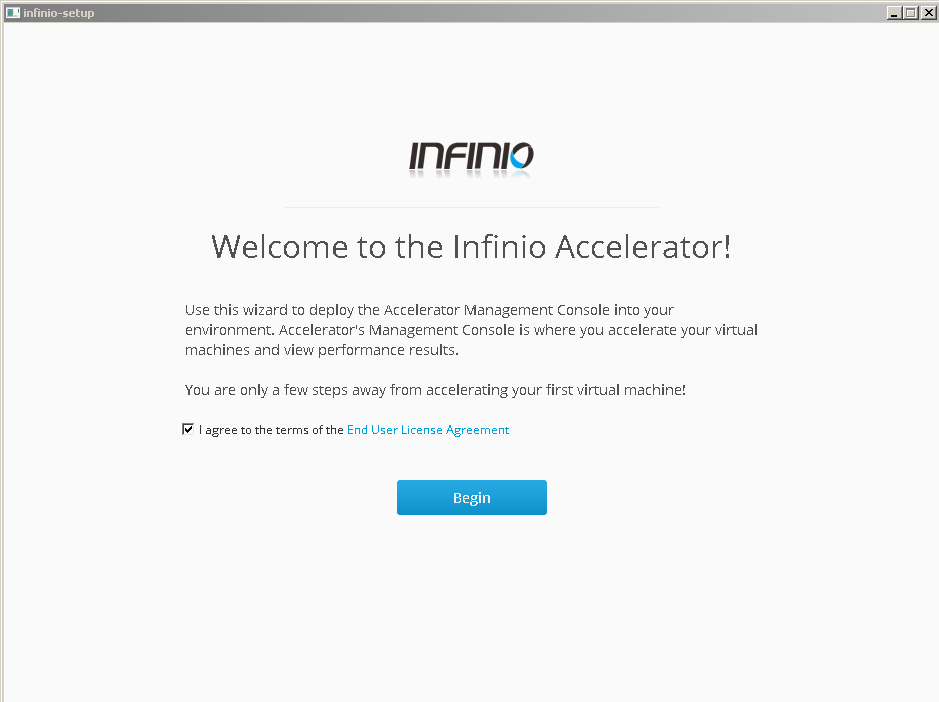
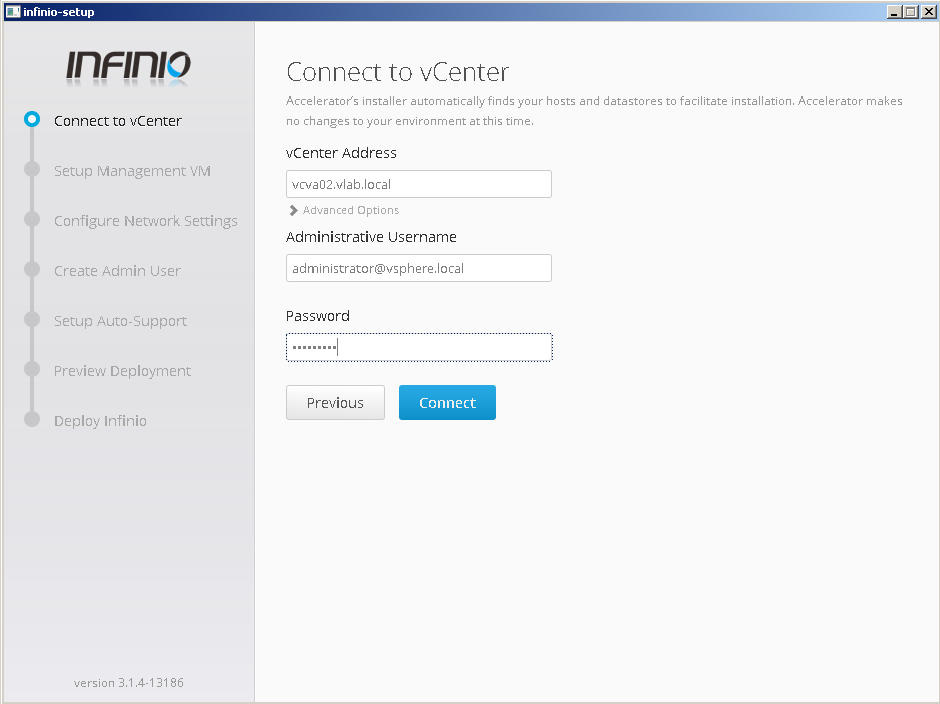
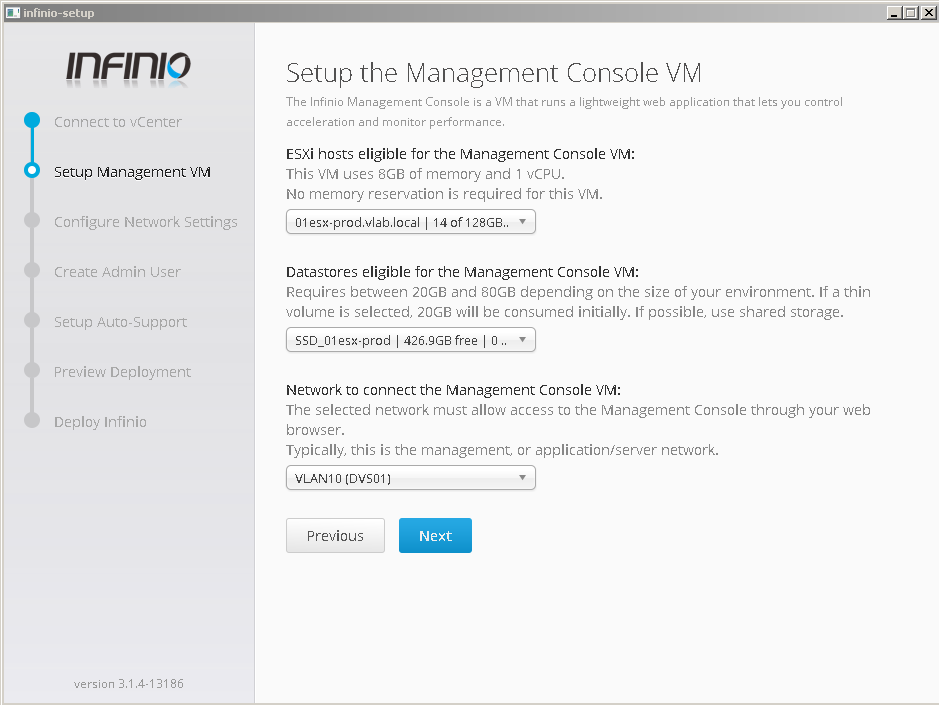
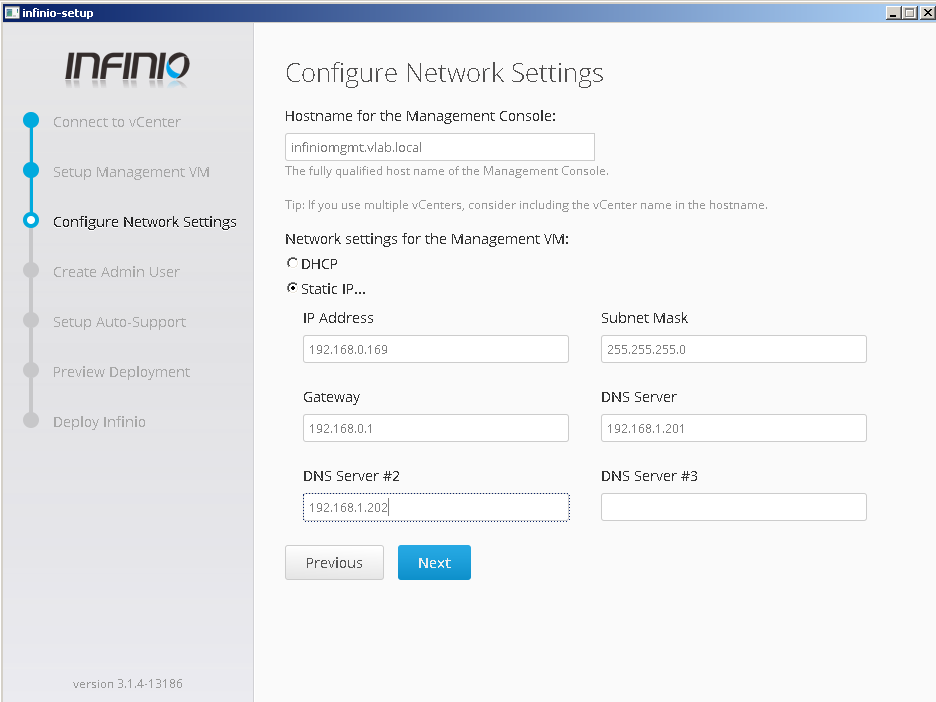
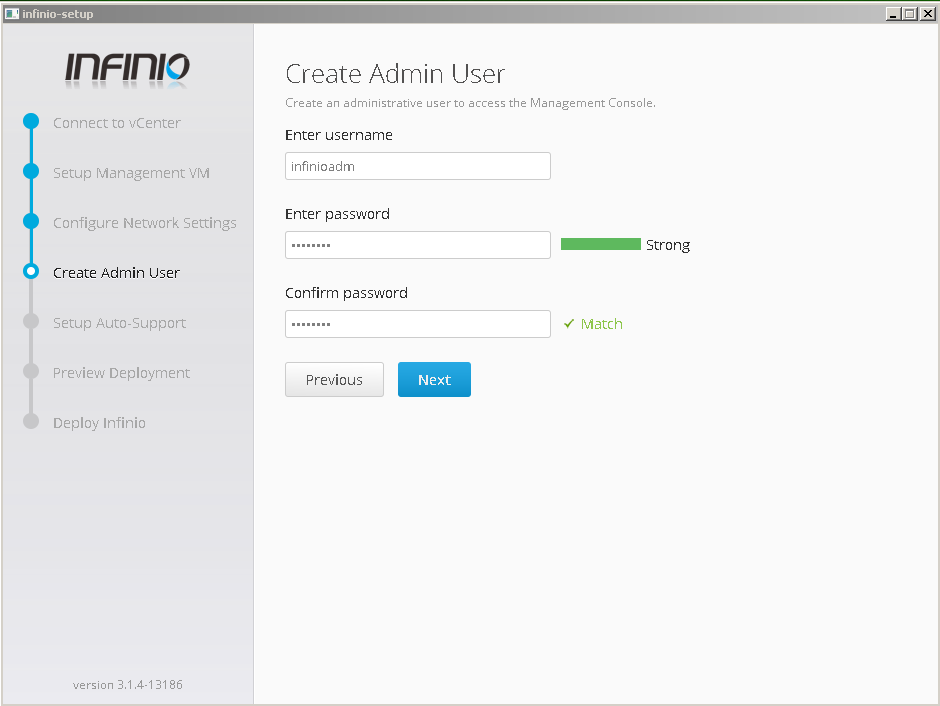
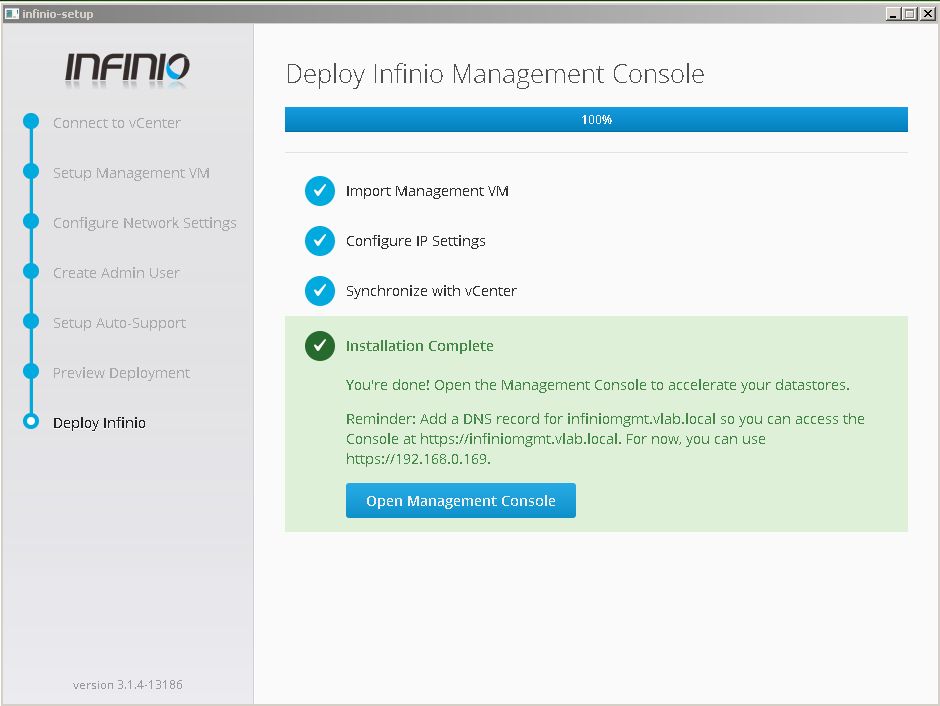
Lets go with installation – is easy and entirely non-disruptive with no reboots or downtime. It can be completed in just a few steps via an automated installation wizard. The installation wizard collects vCenter credentials and location, and desired Management Console information, then automatically deploys the console :
- Run infinio setup and agree to license terms
2. Add vcenter FQDN and user credentials (in example we go with sso admin)
3. Select destination esxi and other parameters to deploy ovf management console vm (datastore and network)
- Set management console hostname and network information (IP address, DNS)
- Create admin user for management console
- setup auto-support (in our trial scenario we skip this step)
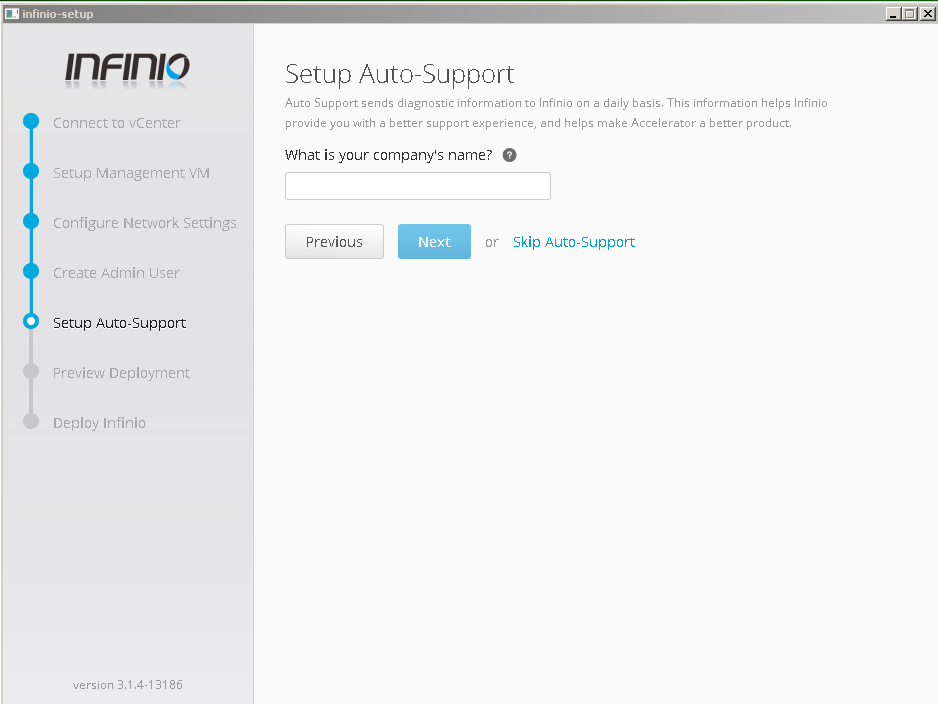
- Preview config and deploy management console.
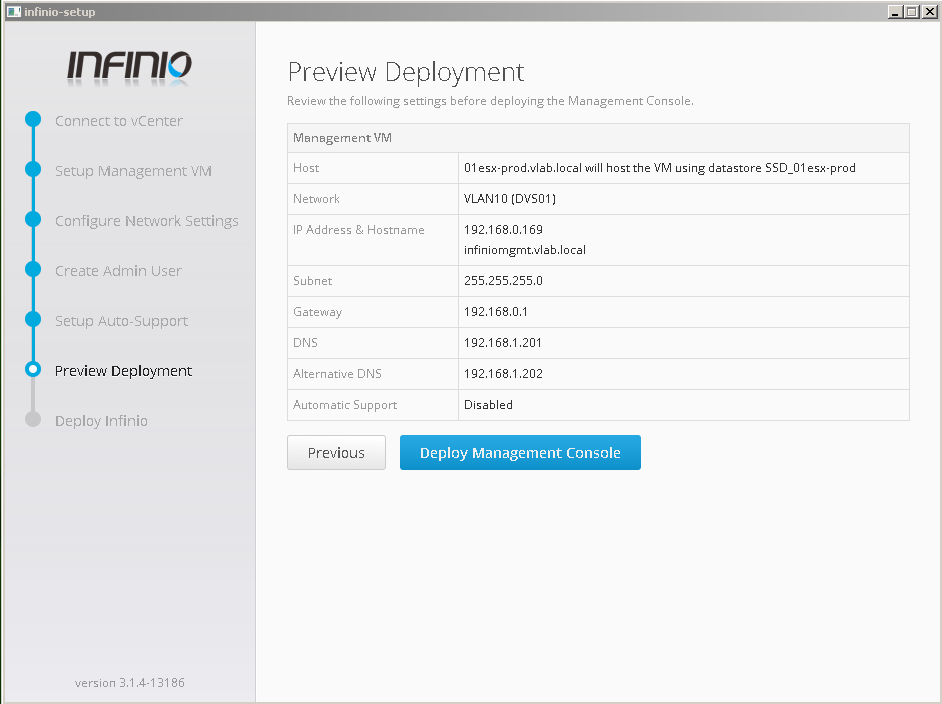
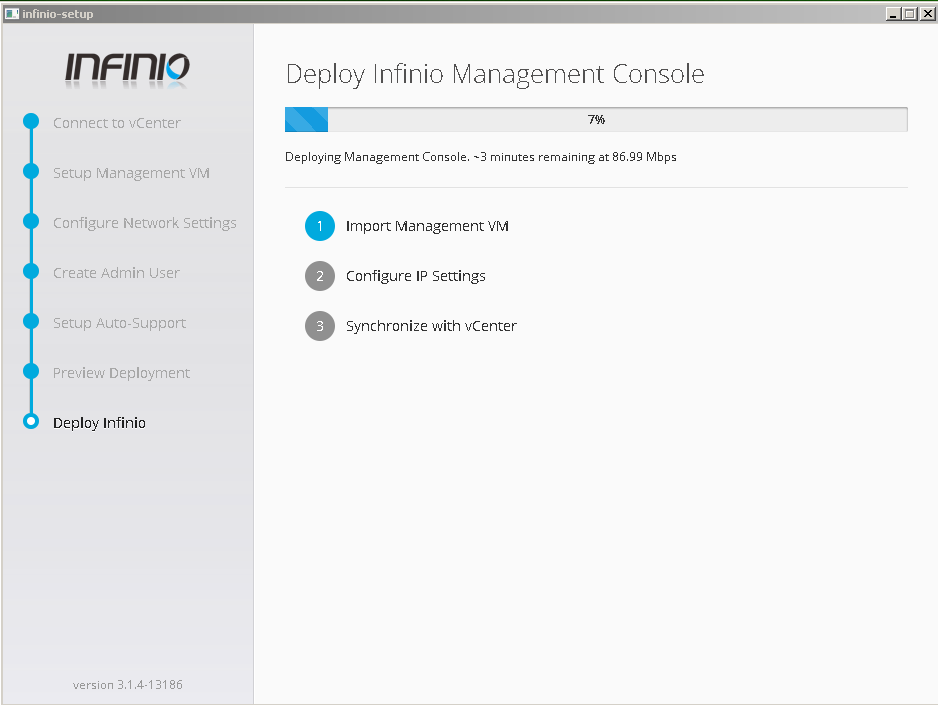
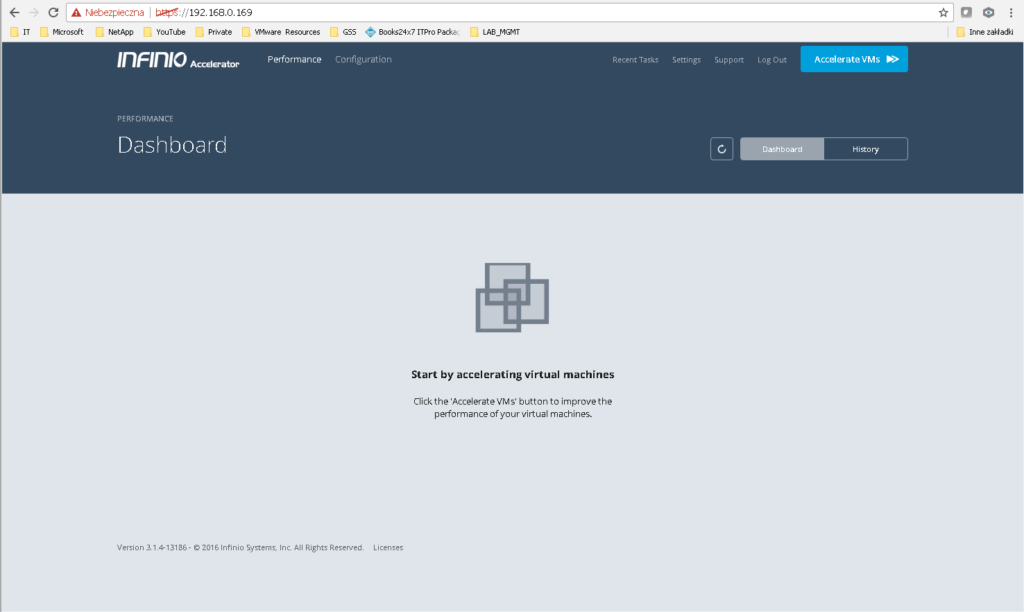
- Login to management console
In the next article we will provide some real performance result form our lab tests – so stay tuned 🙂