vRealize Automation 7 Installation – minimal deployment
One might find it quite difficult to install new product for the first time. Even though installing previous version in the past (or particularly because of that!) That’s due to changes in requirements or event different structures of wizard form which requires information in different format. E.g domain administator accound in one version is required in administrator@domain.local format whils in other installation it accepts only domain\administrator format.
Thanks to that I’m going to provide the list of basic steps to install vRealize Automation 7 in minimal deployment.
I assume that you have successfully deployed the vRA appliance and prepared IaaS VM.
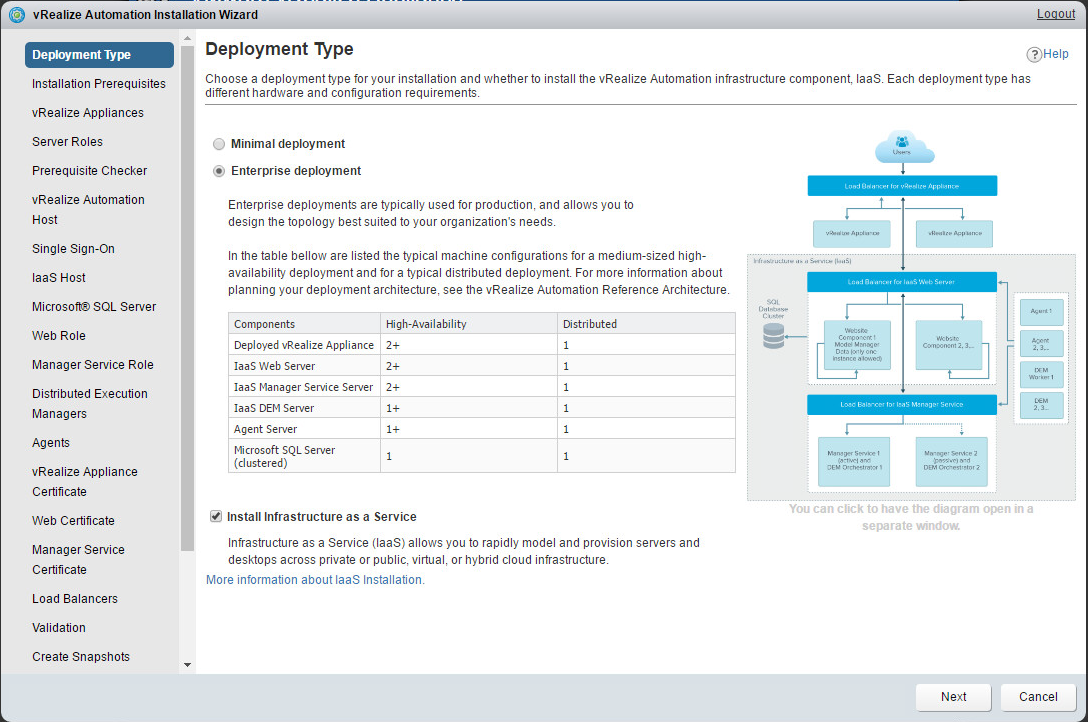
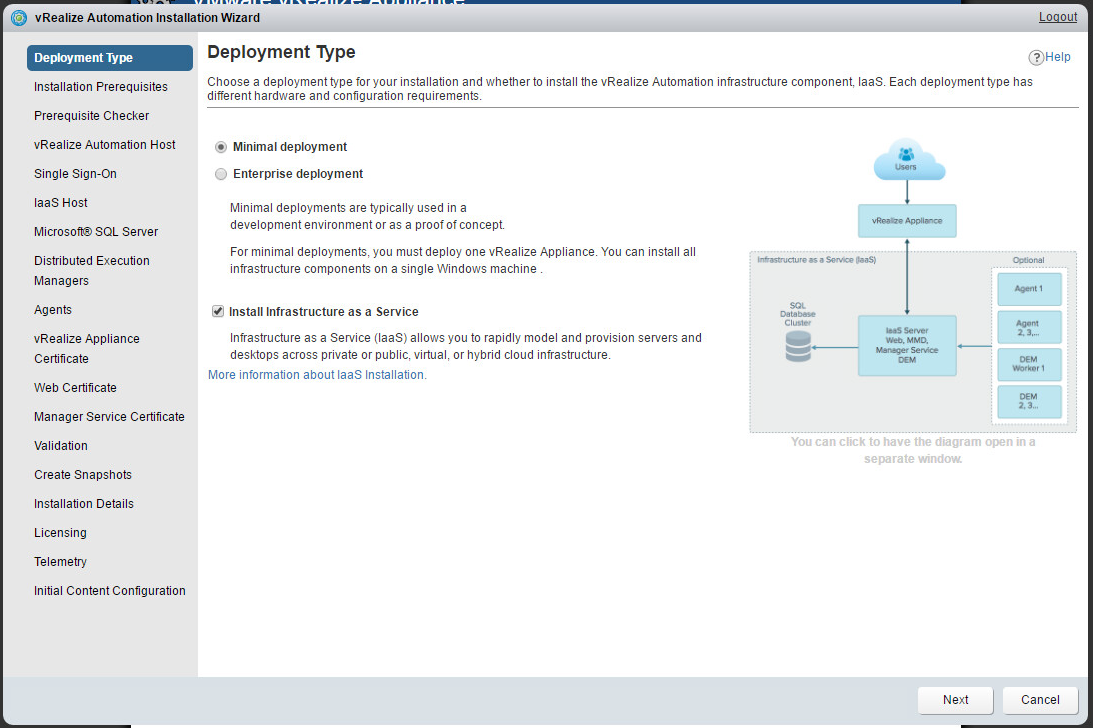
- I suggest to perform the initial configuration from IaaS VM which will be helpful during IaaS components installation during the process. After accessing the vRA appliance console at port 5480 providing default password, the wizard will start. At this stage you can choose the deployment type. Below you can see description of enterprise deployment. I will choose minimal deployment for now, though. It’s
2. Now it’s high time to prepare IaaS server for installation of IaaS components. In vRA 7.x it is much more simplier and faster process. You simply need to install the agent to let the wizard discover the server and perform necessary steps then.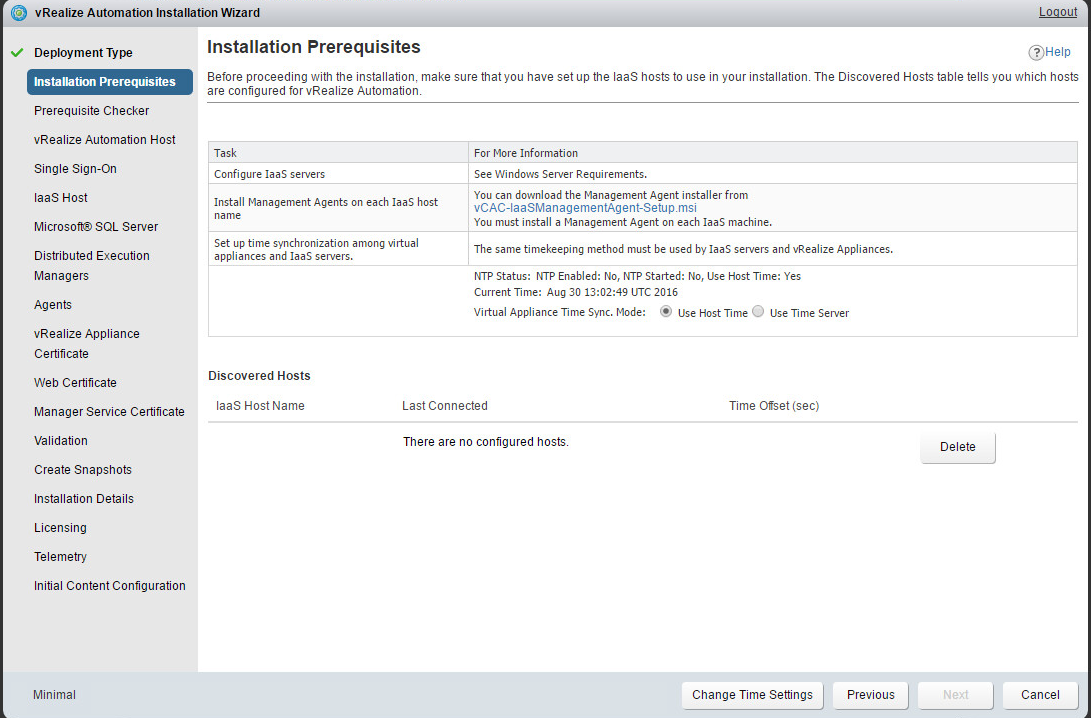
3. Here you can see that the server is discovered and you can move forward.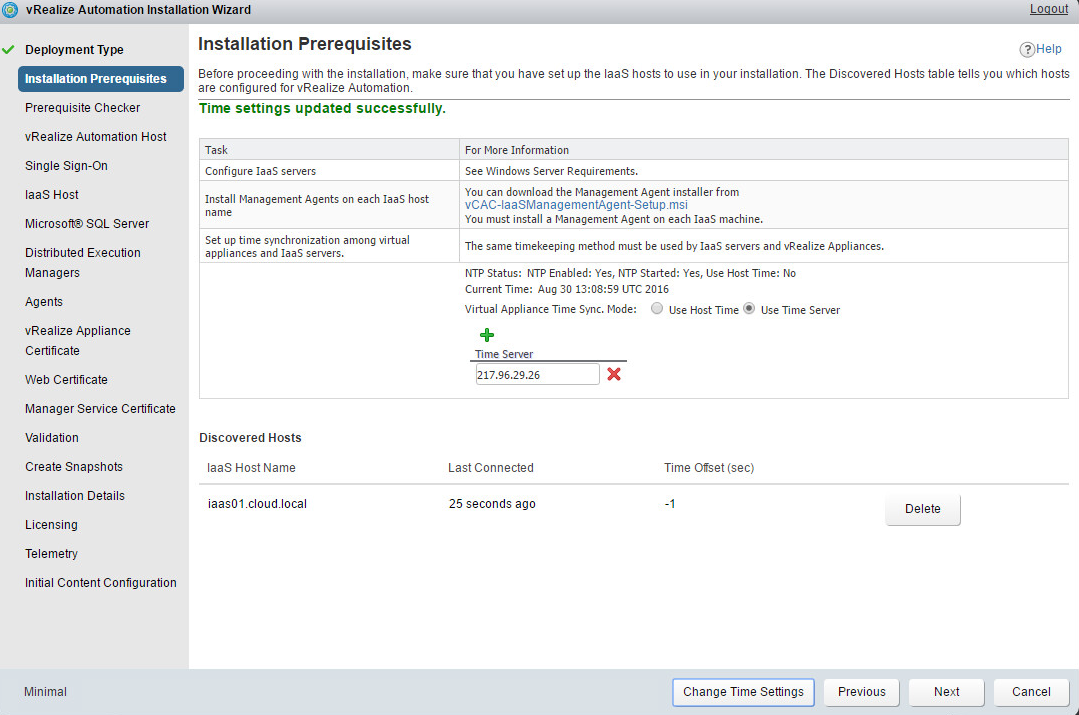
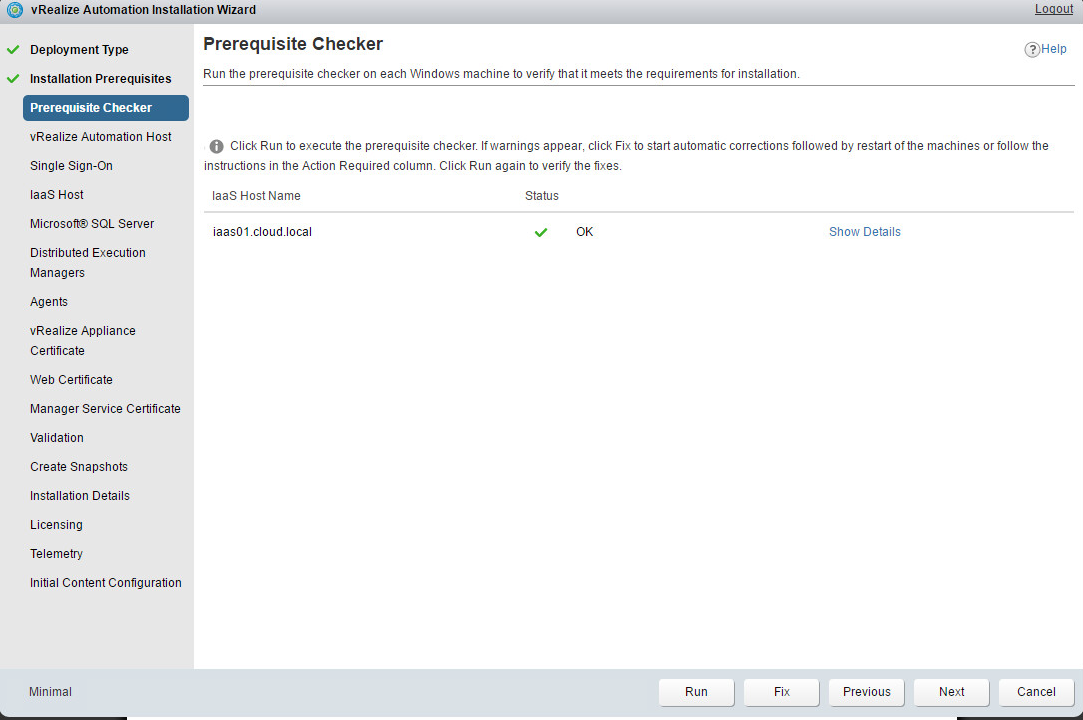
4. Next step is to check all the prerequisities and fix them if necessary.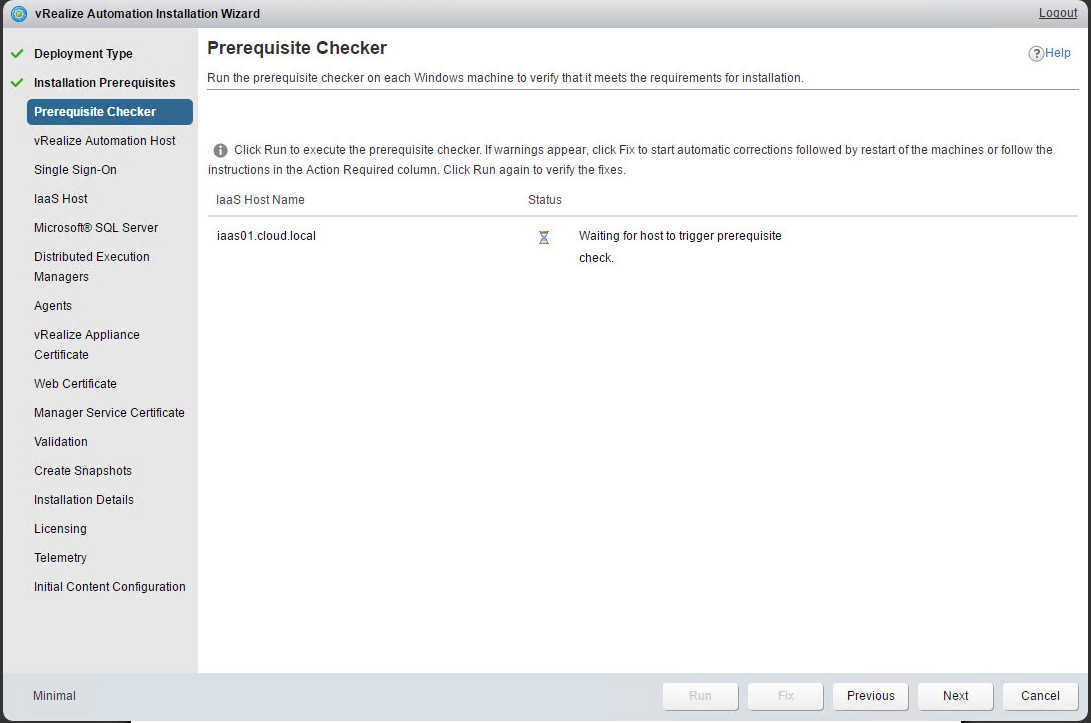
5. Here you can see that there is a lot work to do on a freshly installed Windows Server.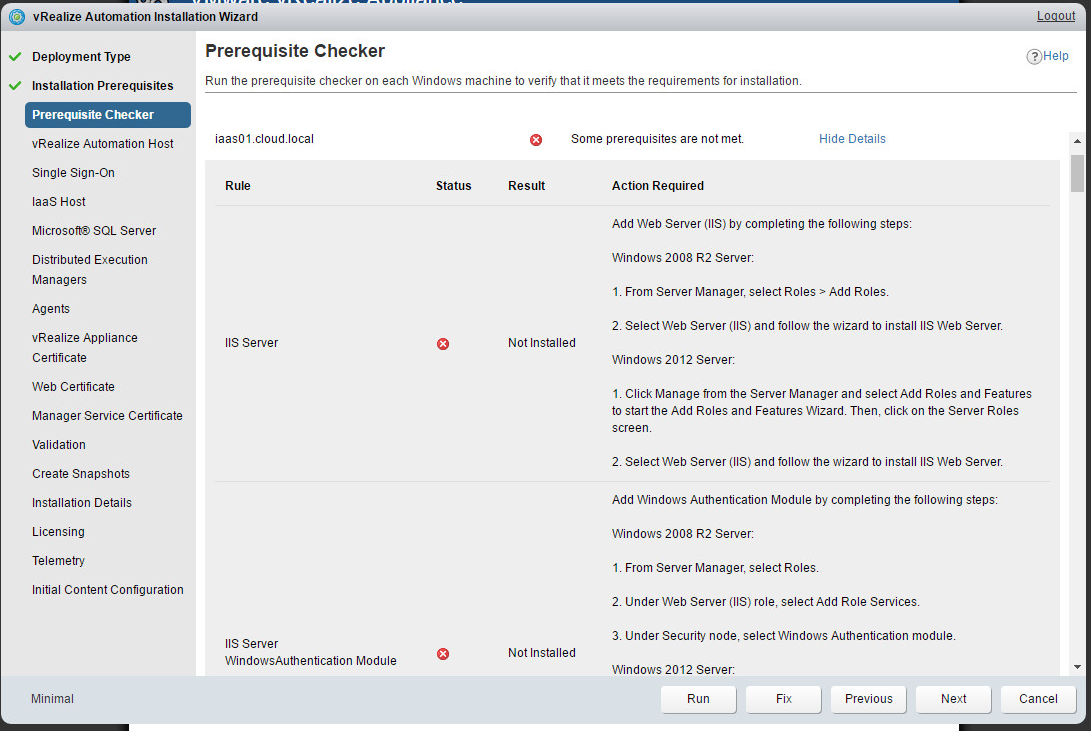
6. Furtunatelly the wizard will do the job by itself. That’s the time for short break 😉 It takes approximately 15 minutes to perform all steps.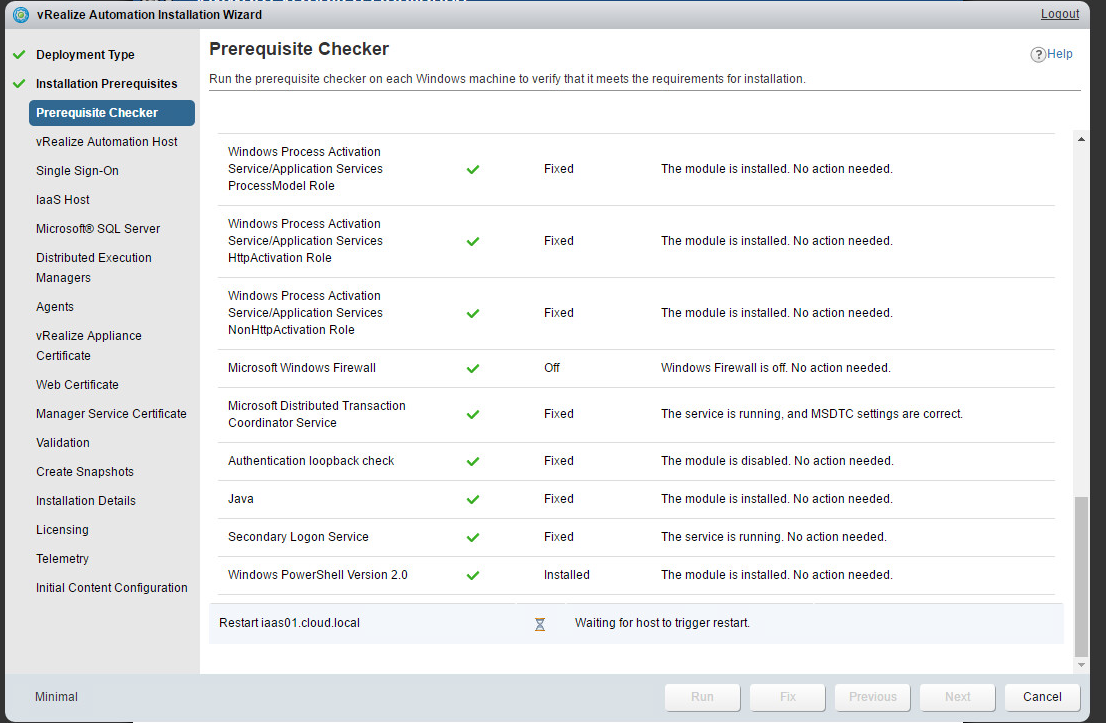 7. When all tasks are done you can re-run the verification script to confirm that everything is fine and move to the next step.
8. Provide the FQDN of vRA VM.
9. Here you are going to create a password which will be used by the system administrator account.

10. Next step is to provide IaaS information, and here is the time to use domain\username format for IaaS Administrator account which should have local admin rights assigned.
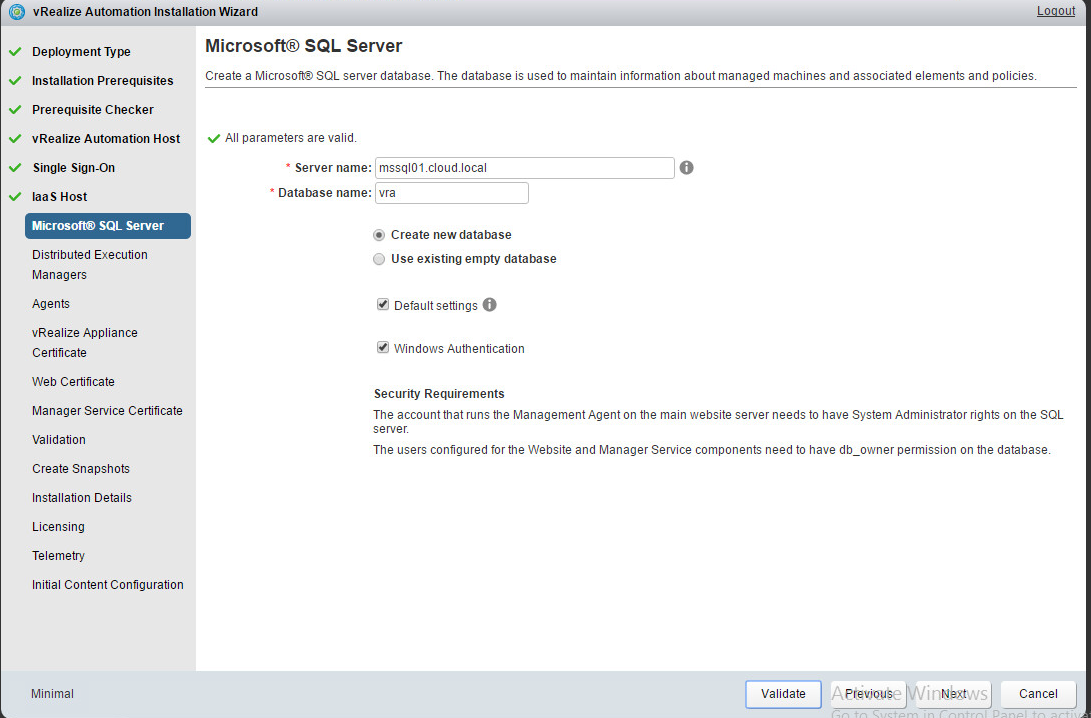
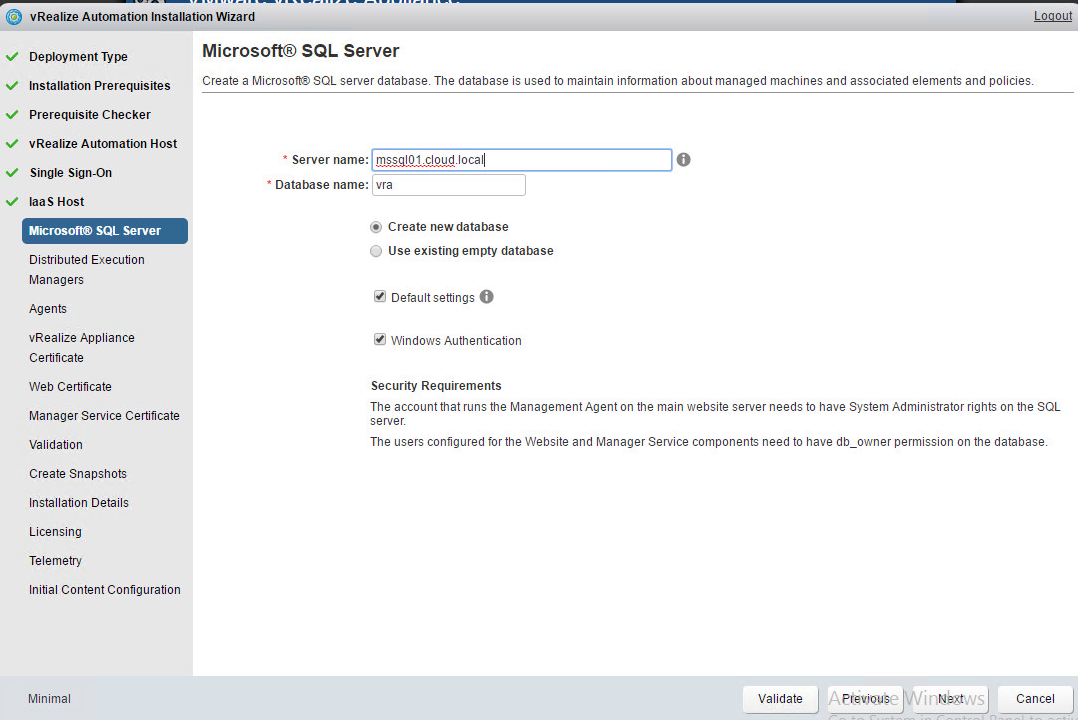
11. Here you are going to provide information about the database server. I highly recommend to create new database. Keep in mind that IaaS administrator name which you provided in the previous step must have Sysadmin rights on Database Server. Without that the process will go forward. It will fail during the ending installation step, though.
12. For minimal or PoC deployment you can simply leave default values here.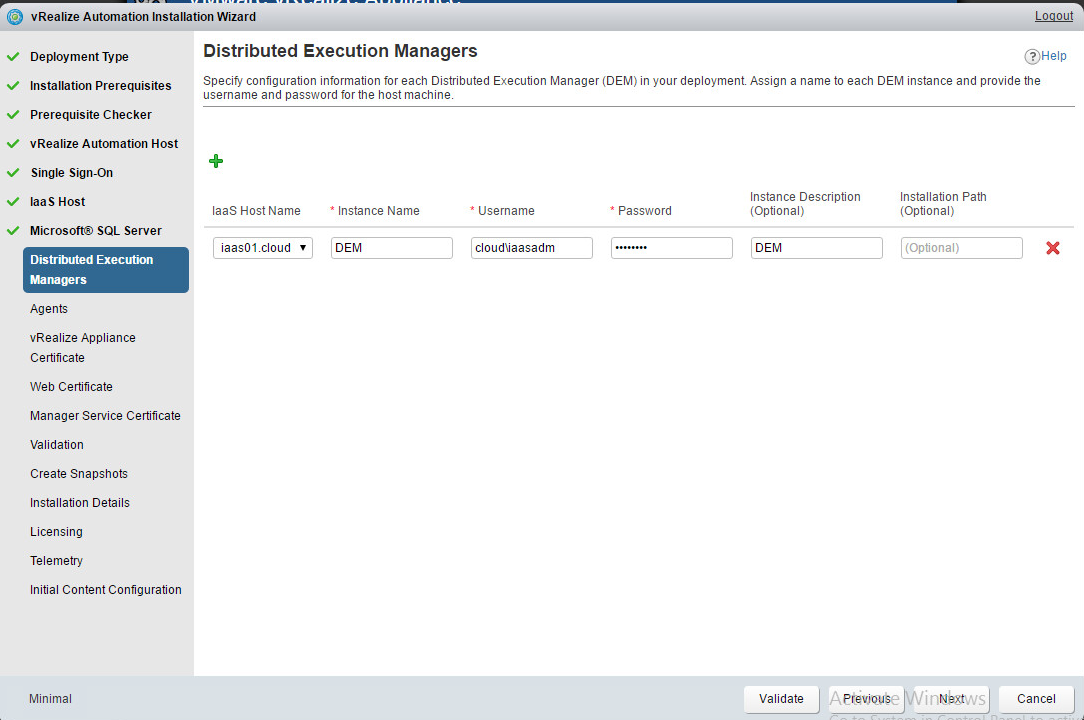
13. The same as previous steps, leave it without changing. Just note the exact agent name which will be required during endpoint creation.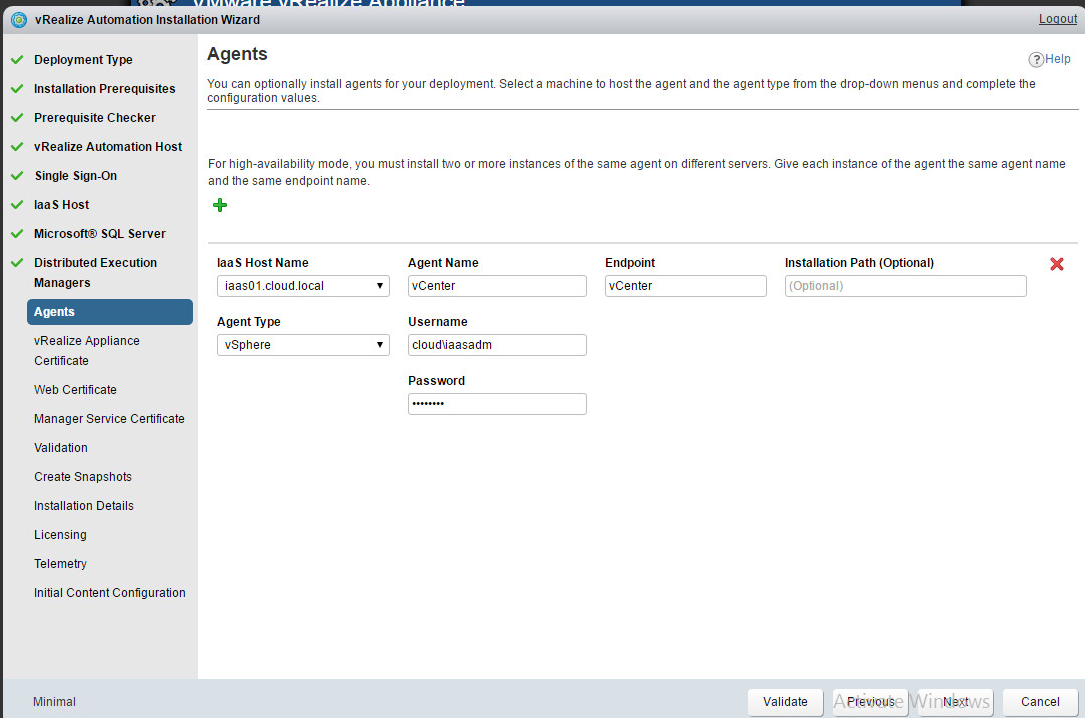
14. Provide the information for vRA self-signed certificates, untill you want to use custom ones.
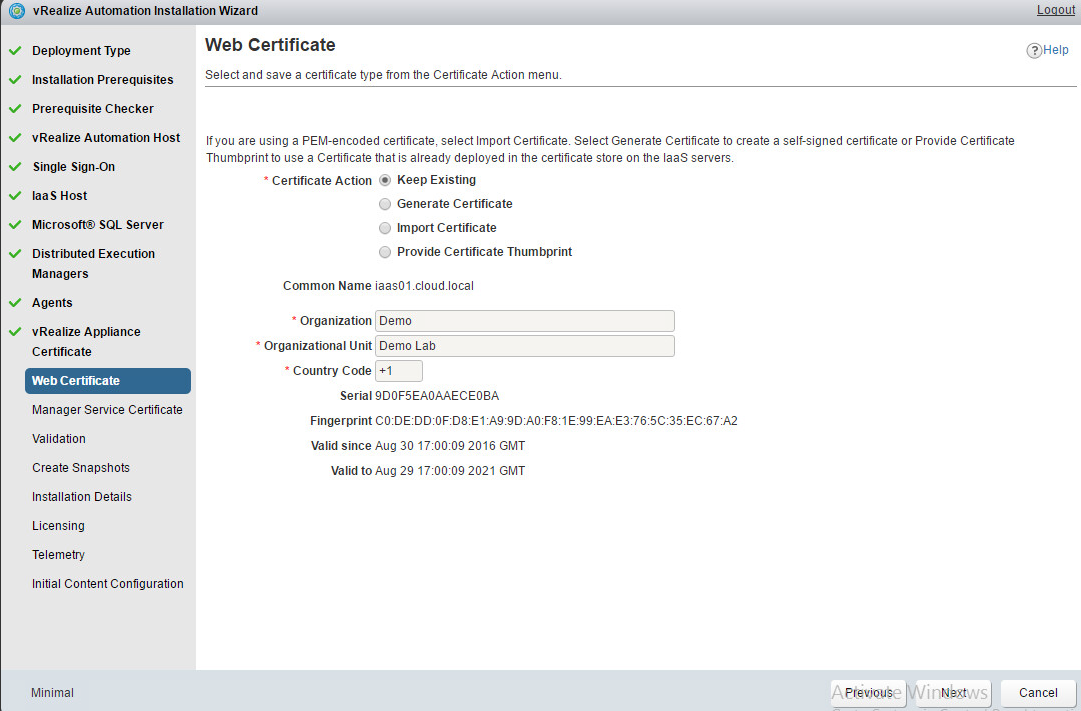
15. Provide the information for Web self-signed certificates, untill you want to use custom ones.
16. Provide information for Manager service certificate.
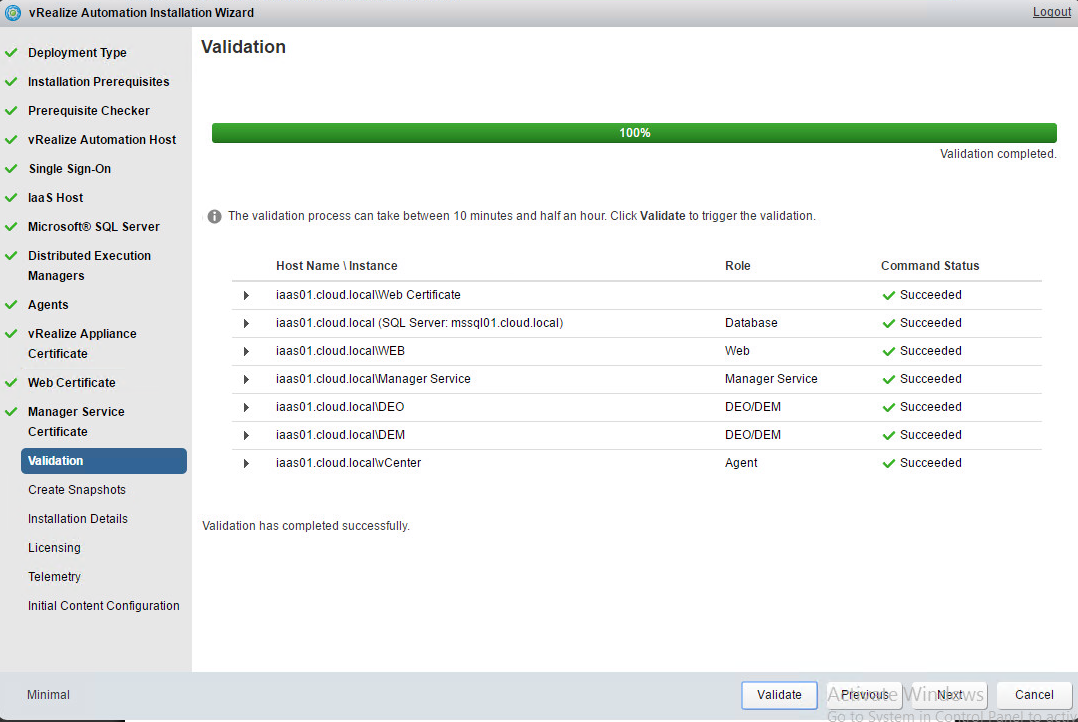
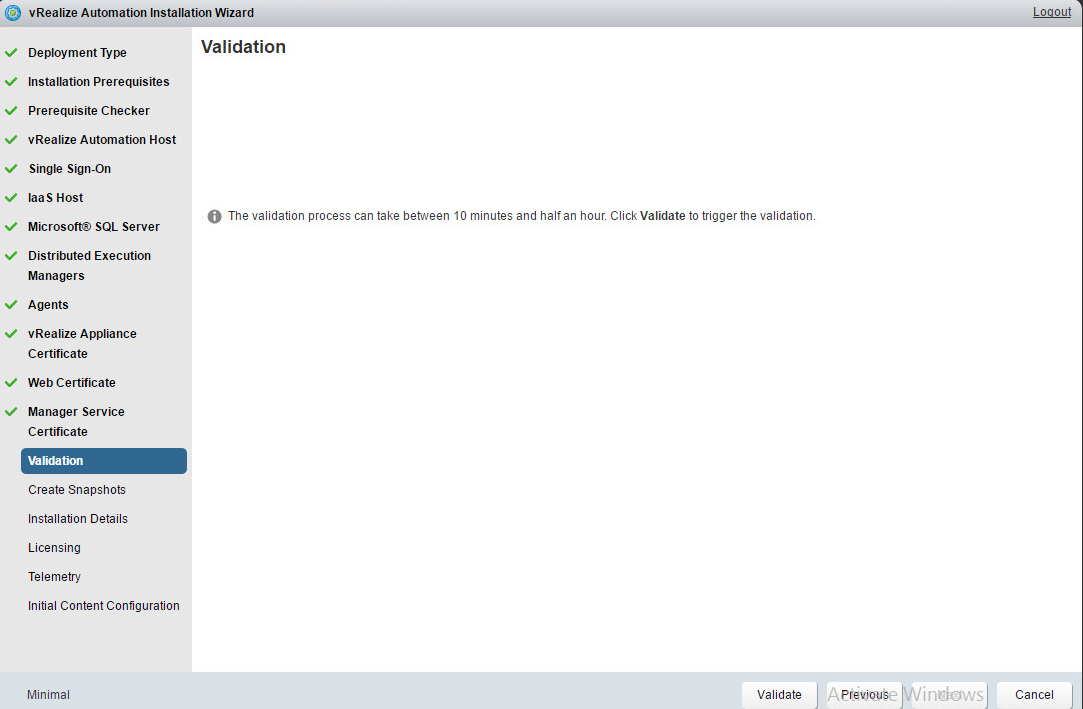
17. Run the validation which might take about 10 minutes.
18. Now it’s the time for some kind of backup in case something went wrong. I suggest to take snapshot of IaaS server just in case. Even though validation stage was completed successfully there are some issues which could happen during installation. (I’ve faced a failed installation due to lack of appropriate database permissions)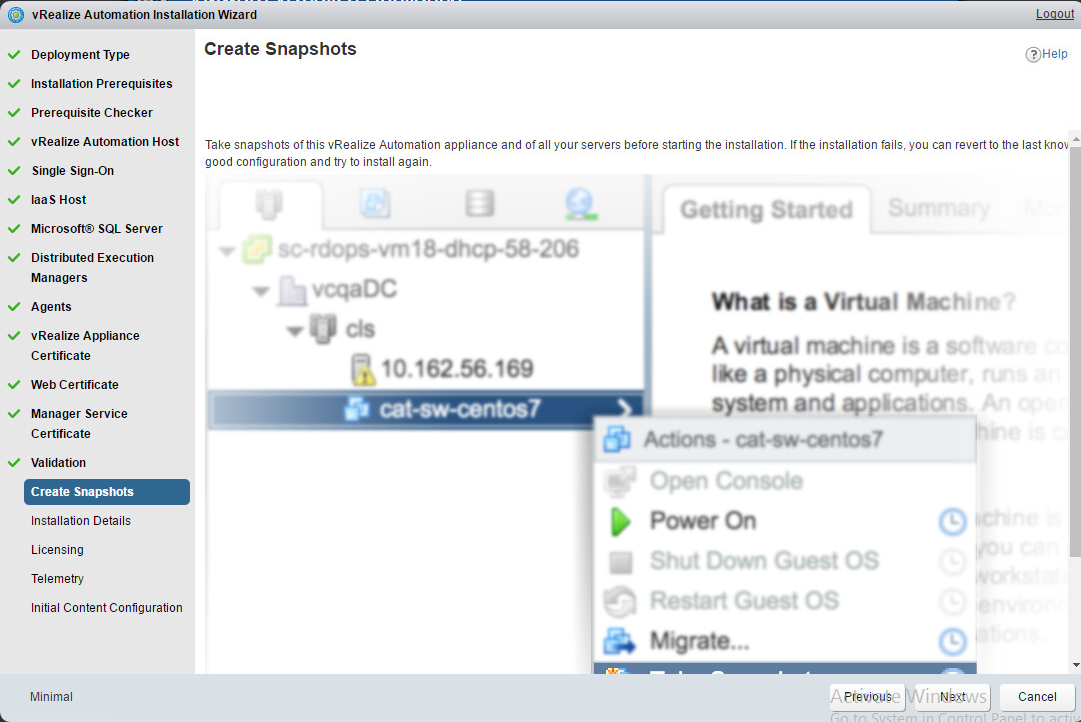
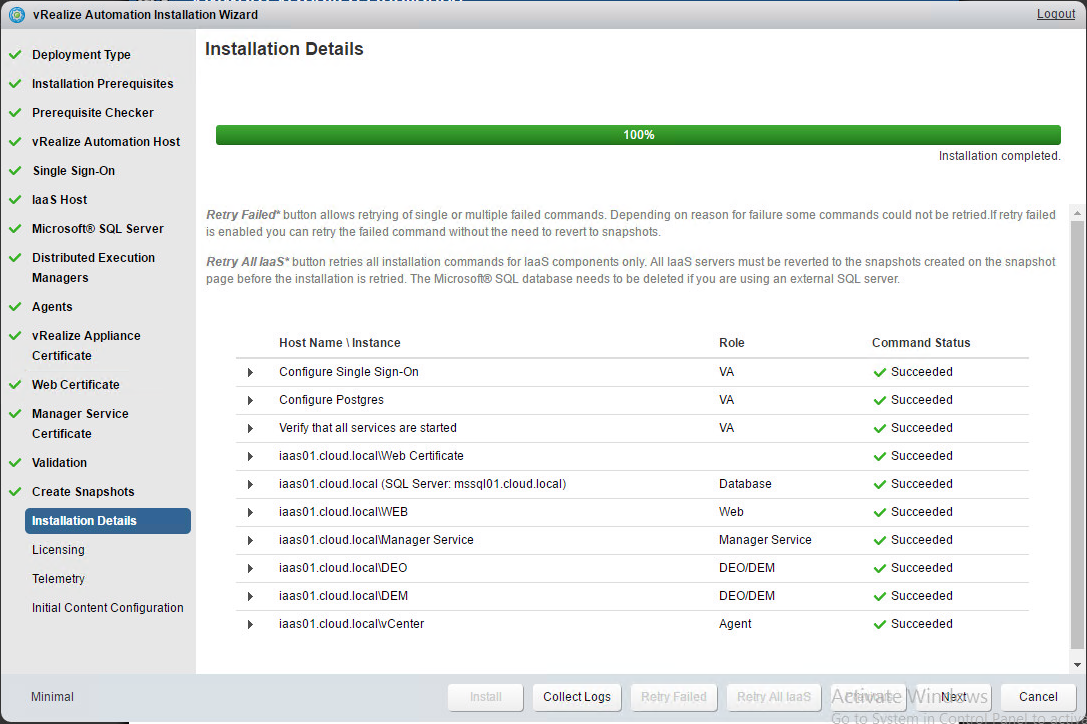
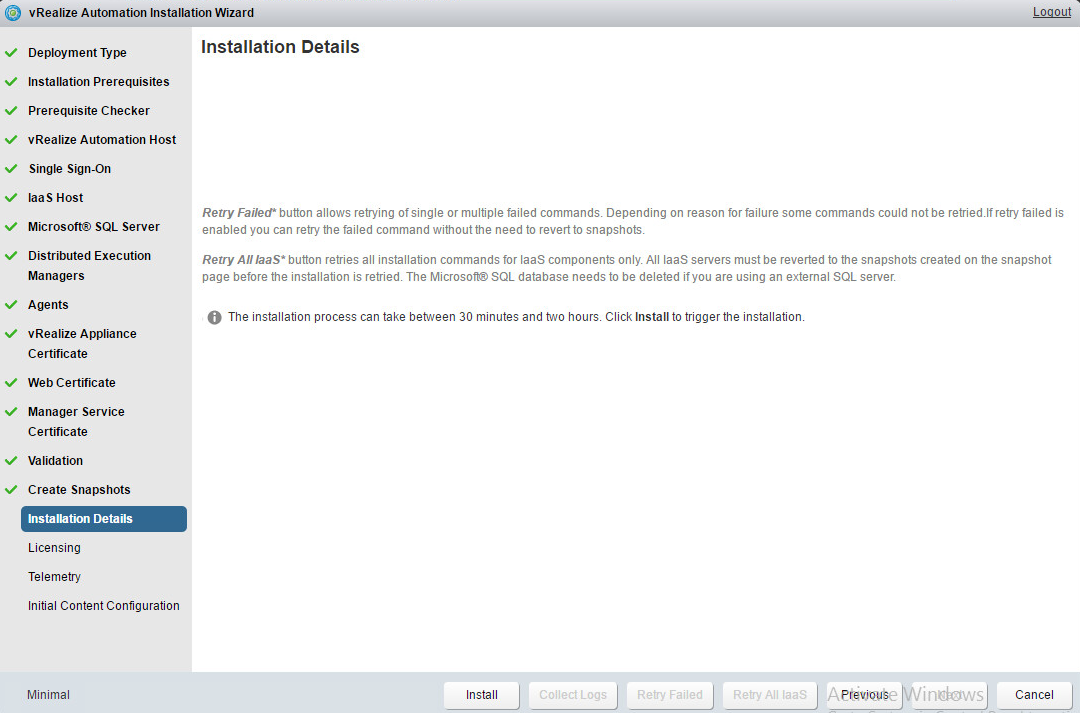
19. Next just start the installation.
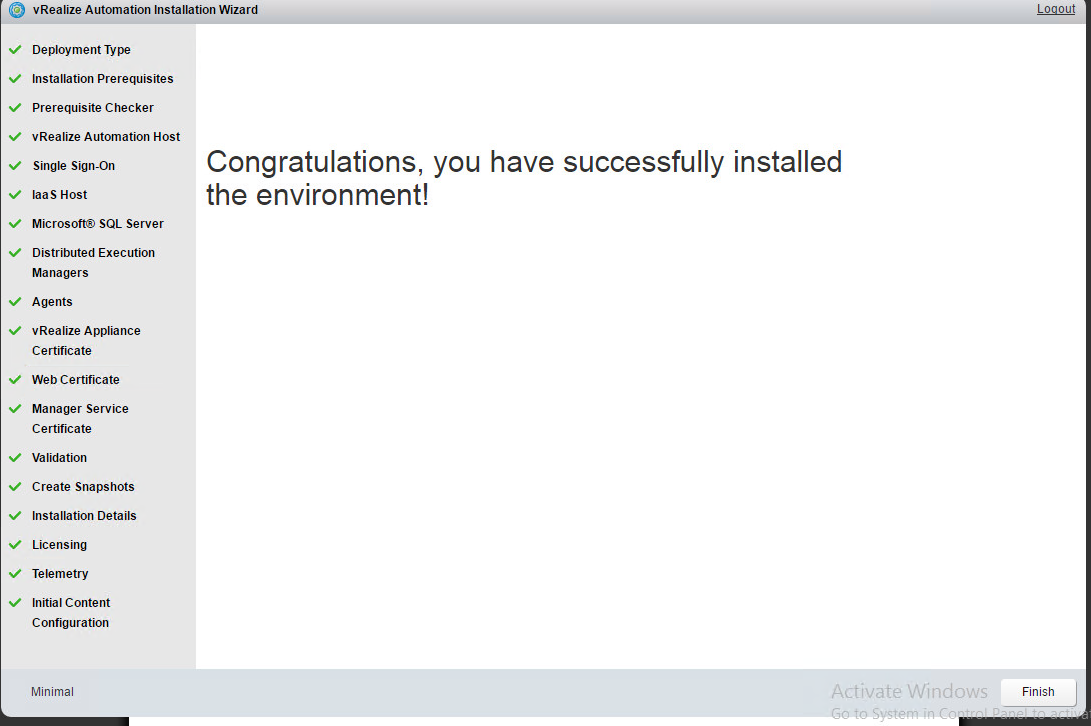
 20. If you didn’t miss anything your installation should be successfull 🙂
21. Next you should provide the license key.
22. Deselect the VMware CEIP agreement checkbox.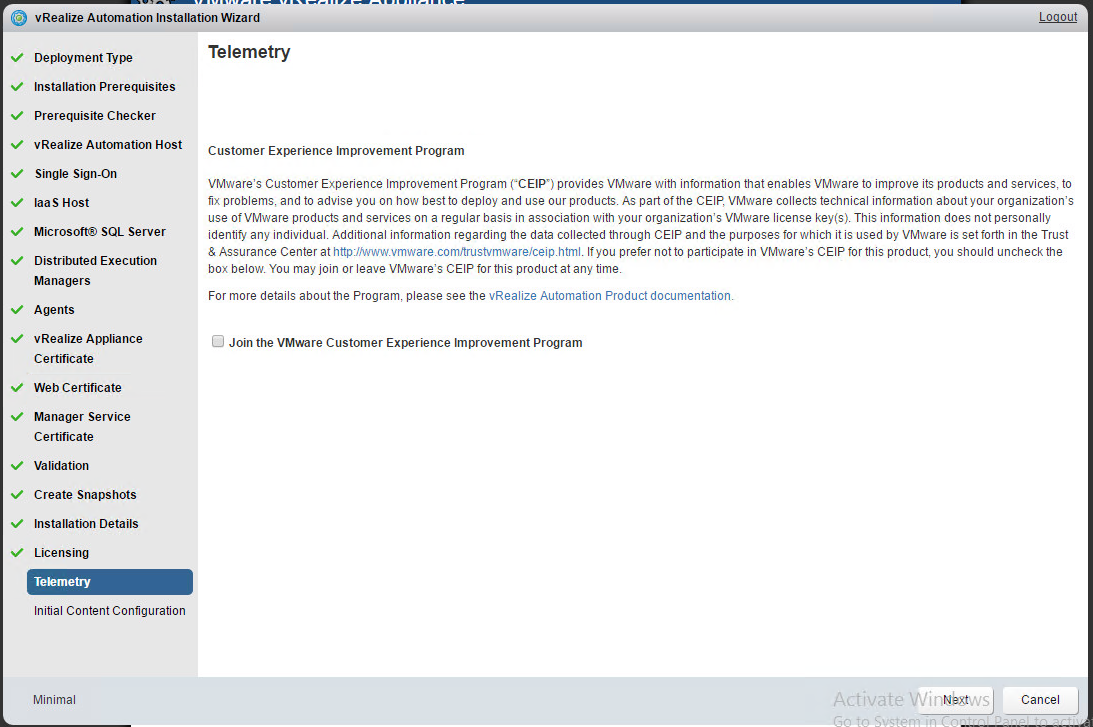
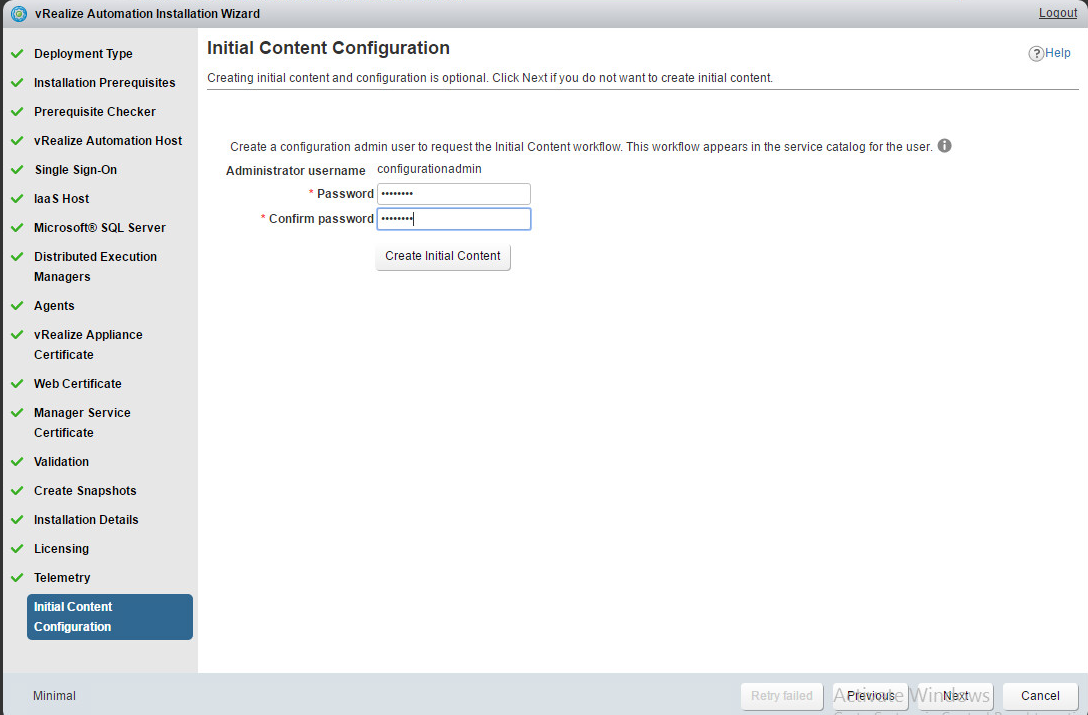
23. You can also provide the password for initial config content. It’s expecially usefull in case of PoC installation. By clicking Create Initial Content button a blueprint for default automation on basic vRA configuration will be created and published in default tenant service catalog.
24. After that you can will see the installation confirmation. Now you can start the play and begin the jurney with you vRA!